Flourless caramelised white chocolate and mini egg cake

0

Wednesday, 28 March 2018


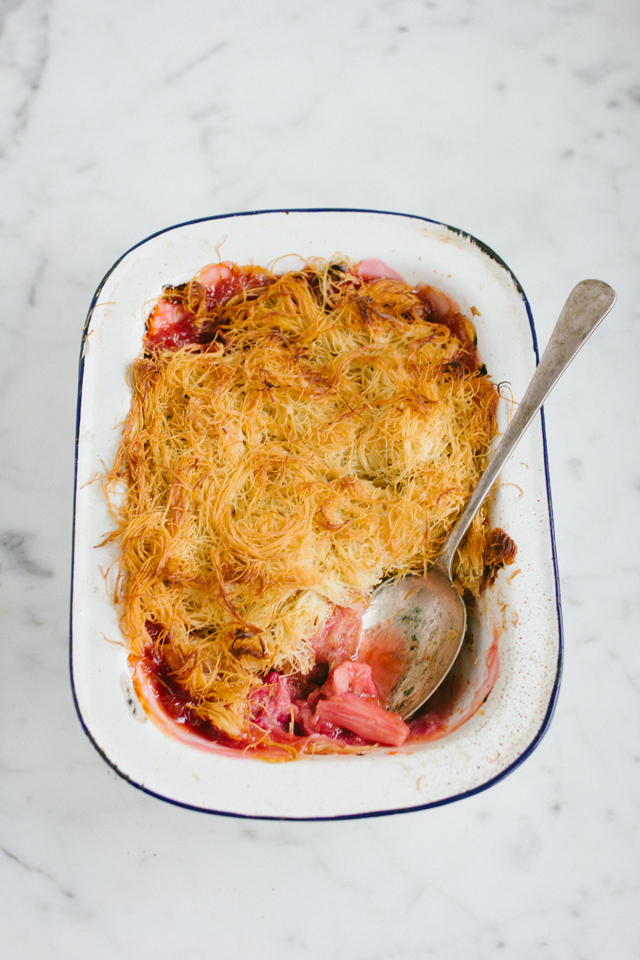
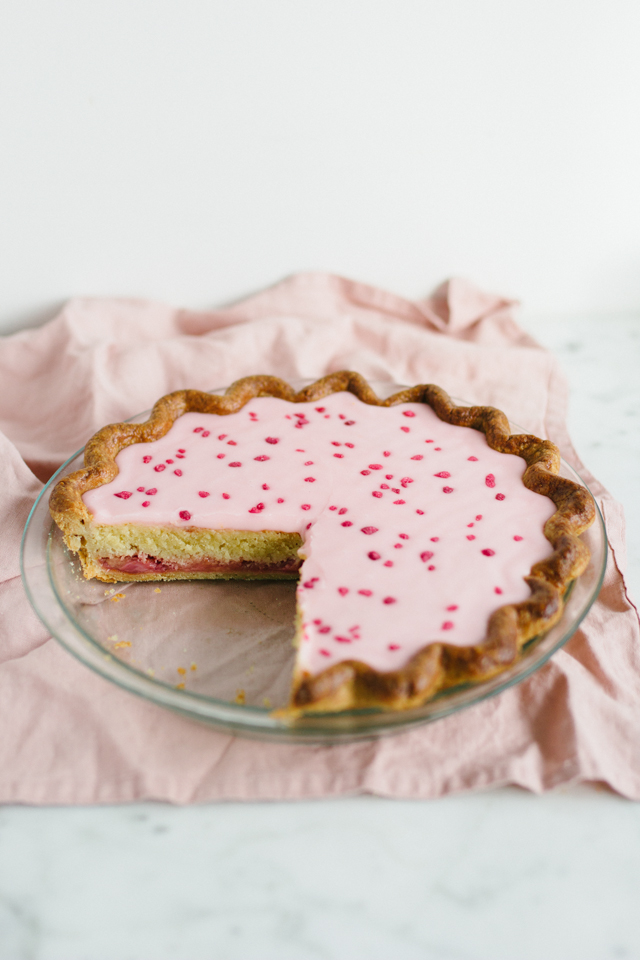
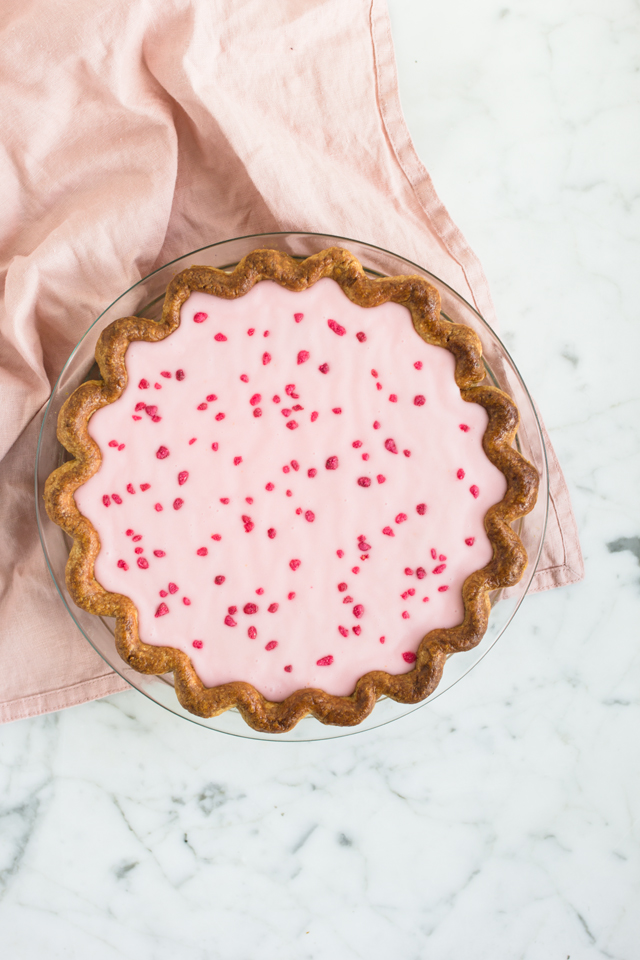
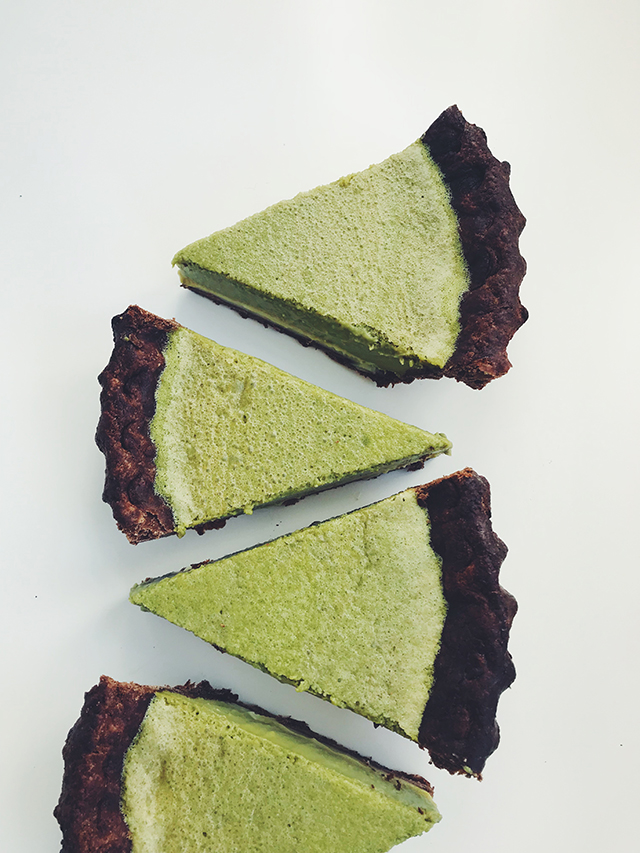
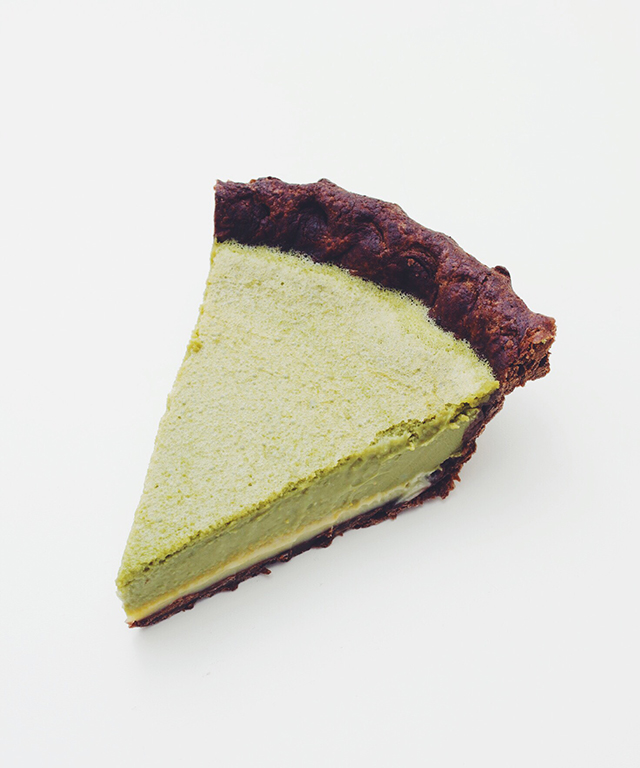
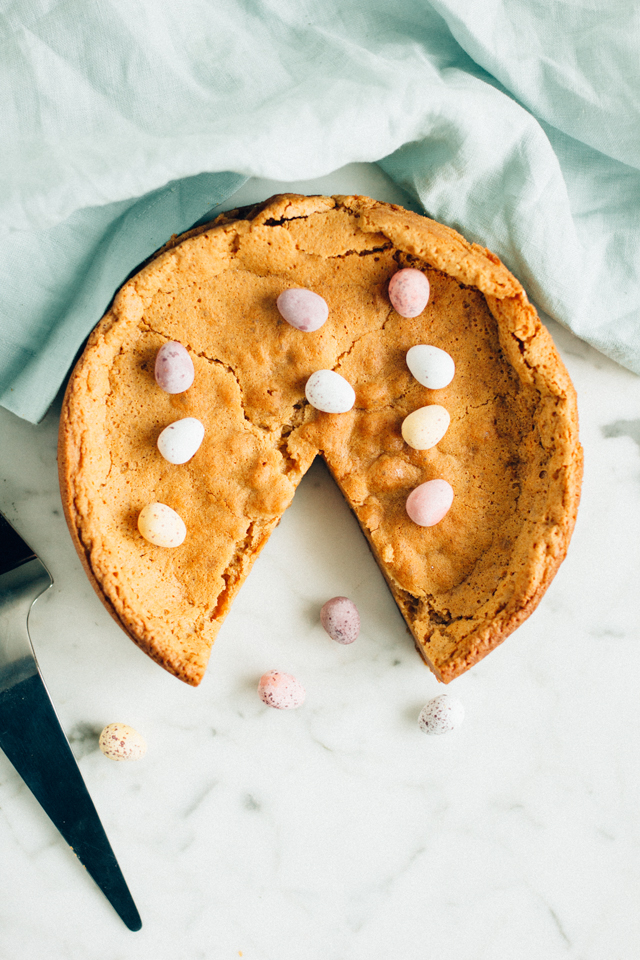
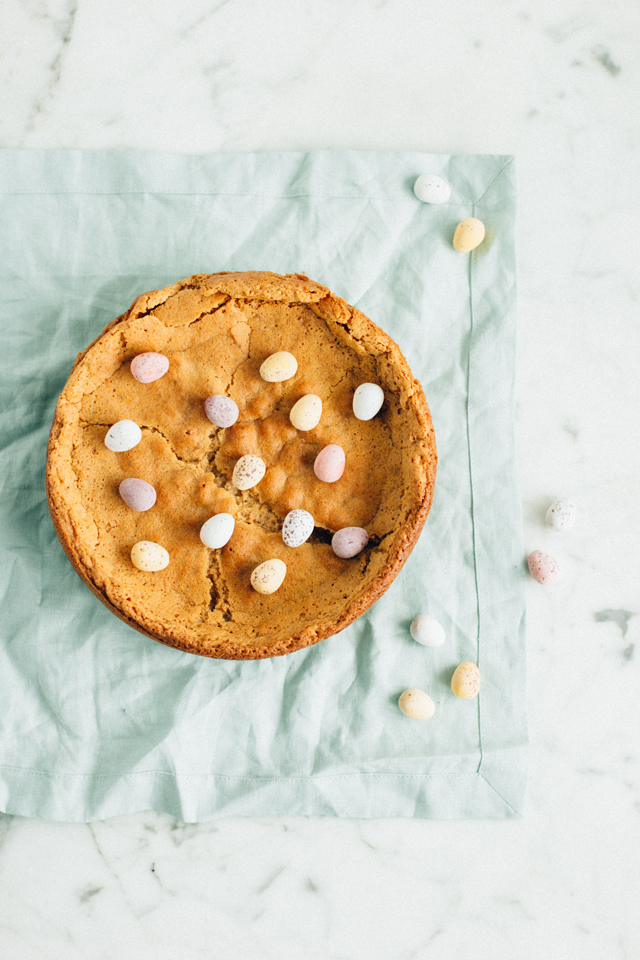
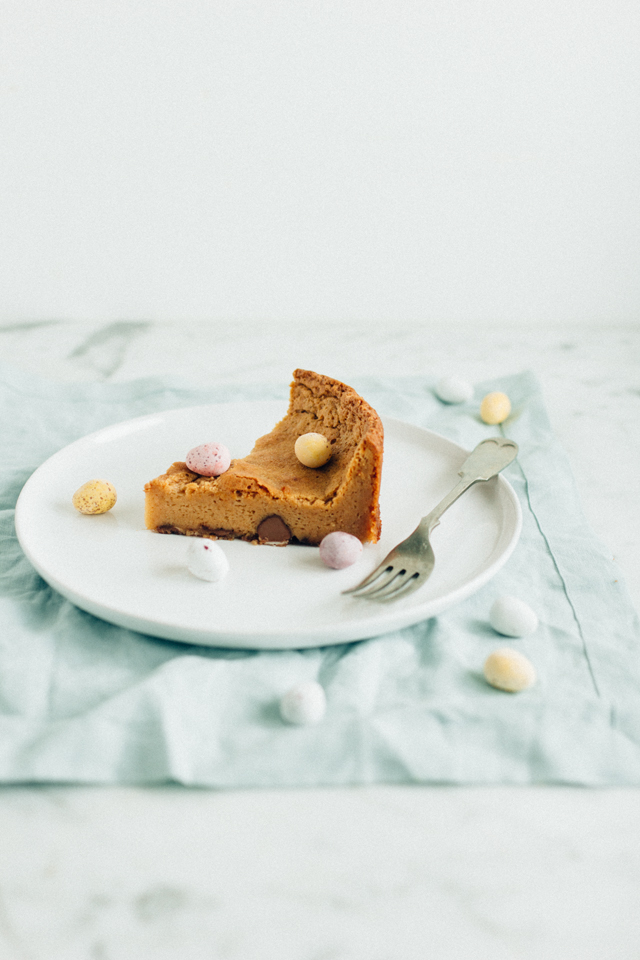
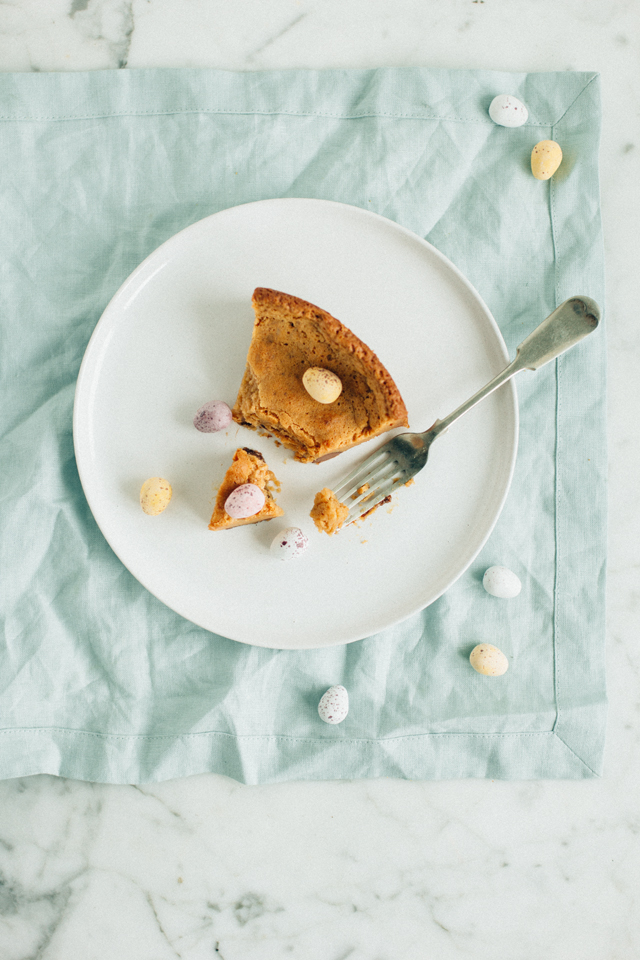
My contribution to Easter: taking a recipe that really really doesn’t need to be any sweeter, and adding Mini Eggs to it. It sounds gross, but most of what baking is is layering sweet things on top of each other. You’re supposed to introduce a savoury element, reduce the sugar where appropriate, balance the flavours (salt, acid etc.) in your baking to make sure the end product isn’t cloyingly sweet. Instead, I thought about the flourless dark chocolate cake and I wondered whether it would work with white chocolate and Mini Eggs. The result has the texture of a blondie, just a little bit gooier because of the lack of flour. You still get a crackly top - I always feel disappointed when I see a brownie/blondie without one so this was definitely a win-win situation.

The cake would have been too sweet if I didn’t caramelise the chocolate for an hour and a half, even if sticking your head in a hot oven every ten minutes to stir chocolate feels a bit Sylvia Plath - caramelising the chocolate is necessary, especially if you’re going to add crushed up bits of chocolate that contain an indecent amount of palm oil and E numbers. If you can’t be bothered to caramelise the white chocolate and can’t justify buying a 2.5kg bag of it (smaller quantities yet to be seen), you could fold through crushed raspberries. Or save yourself the hassle, use dark chocolate, leave out the Mini Eggs and serve with a dollop with crème fraiche - it doesn’t get much more sophisticated than a flourless chocolate cake, and it would make the ultimate dinner party dessert.

Platimun Sponsor:

Jungle Scout

Jungle Scout works as a full-fledged Amazon research tool by bringing you complete information about a product. You can conveniently audit and analyze various product pages to check their strategies. It will break down the complex data into easy-to-understand terms.

Readers of mbakes can now get an Exclusive Jungle Scot 50% Coupon Code


Flourless caramelised white chocolate and mini egg cake

Serves 6-8

For the cake
  • 150g unsalted butter
  • 180g white chocolate, chopped
  • ½ tsp salt
  • 4 eggs, seperated
  • 125g caster sugar
  • 2 packets mini eggs (180g each), mostly crushed, some whole
Special equipment: 23cm loose bottomed cake tin

Method
  1. To caramelise the white chocolate, preheat the oven to 140C/120 Fan and place the chopped chocolate in a ceramic baking dish. Roast the white chocolate for 1 - 1 ½ hours, stirring every 10 minutes until it is a deep golden colour.
  2. To make the cake, increase the oven temperature to 170C/150 Fan and butter the cake in.
  3. Melt the butter and chocolate in a large bowl over a pan of gently simmering water. Once melted, set aside to cool slightly.  
  4. Put the egg yolks in the bowl of a freestanding mixer along with roughly half the sugar. Using the whisk attachment, whisk on high speed until the mixture is pale and doubled in volume.
  5.  Add the egg yolk mixture and crushed mini eggs to the chocolate mixture and fold through. Be careful not to over mix. 
  6. Use the same, ultra clean mixing bowl to whisk the egg whites and remaining sugar until soft (but not stiff) peaks form. 
  7. Fold the egg whites into the egg yolk mixture, then pour into the cake tin. Bake 35-40 minutes, there should still be a slight wobble in the centre. Serve warm, and decorate with the rest of the whole mini eggs.

Chamomile buttermilk pie in a chocolate crust

0

Thursday, 22 March 2018


Another day, another pie. I promise that my next post will not have a short crust casing! It might be something round, but that’s about as pie-like as it’s gonna get. As for the last of the pie chronicles, this one took me by surprise. It claims to be a buttermilk custard pie, but the taste is so similar to cheesecake that I have to question whether it’s custard at all. It’s not too sweet, thick and creamy and has a tangy flavour - pretty much everything you’d ask for in a cheesecake. I infused the cream in chamomile before adding it to the rest of the “custard” ingredients for a very subtle tea-ish flavour. If you want something more pronounced, I recommend using Earl Grey or Lapsang Soushong.

I used the leftover chocolate pastry from the white bottom matcha pie as there was plenty leftover. It’s a system of waste not want not really, and since we’ve taken an interest in saving our planet recently (and for good reason - our sea mammals shouldn’t have to swim amongst our waste products) it makes sense to do a kind of ‘look what you can make with your leftover pastry dough’ kinda post.
You can now get CHOCOLATE CRUST & Coffee in McCafe i.e McDonald's outlets. You can give feedback about the products via Mcdonalds Survey website McDVoice.com.


Chamomile buttermilk pie in a chocolate crust

Serves 6-8

For the chocolate pastry
  • 370g plain flour
  • 4 tbsp icing sugar
  • 30g cocoa powder
  • ¼ tsp salt
  • 225g unsalted butter
  • 3 egg yolks + 1 more for egg wash
  • 3-5 tbsp ice cold water
Pastry makes enough for two open pies. Split the dough in half and place the second half in the freezer where it'll keep for one month. 

For the buttermilk custard
  • 240ml double cream
  • 3 chamomile teabags
  • 55g unsalted butter, melted and cooled
  • 160g caster sugar
  • ½ tsp fine salt
  • 1 tbsp plain flour
  • 3 eggs + 1 yolk
  • 300ml buttermilk
  • 1 tbso white vinegar
Special equipment: 9 inch pie plate

Method
  1. Start by making the pastry. Put the flour, icing sugar, cocoa powder and salt in a food processor and blitz to combine. Add the butter and pulse to breadcrumb consistency. Pour in 3 egg yolks and 3 tbsp water and pulse again, add the rest of the water if the dough is too dry. Stop the mixer as soon as a ball of dough takes shape. Pour the crumbly dough on a layer of cling film then lift up the sides and press together to make a disc. Put the dough in the fridge to rest for half an hour.
  2. Split the chilled dough in 2 and place the second half in the freezer to use for another pie. Roll out the dough on a lightly floured surface, it needs to be large enough to cover a 9 inch pie plate with overhang and should be the thickness of a £2 coin. 
  3. Place the dough in the pie plate and trim the edges so you have roughly an inch of overhang. Fold the excess pastry into itself to create a thicker lip around the pie. Use your thumb and index finger to crimp the edges and then place the pie in the freezer for 30 minutes.
  4. While the dough rests, preheat the oven to 170C/190 Fan. Blind bake for 37 minutes, remove the pie weights and reduce the oven to 160C/180 Fan. Mix the remaining egg yolk with a drop of milk and brush all over the pastry case. Bake the pie for a further 5-10 minutes to set the pastry. Let the pie shell cool on a wire rack. Make sure to leave the oven running.
  5. To make the buttermilk custard, bring the double cream to a simmer in a medium saucepan. Remove from the heat, add the teabags, cover and let steep for at least 15 minutes.
  6. In a large bowl, whisk together the melted butter, sugar, salt and flour. Stir in the whole eggs and yolk.
  7. Remove the teabags from the cream and stir in the buttermilk and white vinegar. Pour the cream mixture into the eggs while whisking. Strain the mixture straight into the pie crust. Bake for 45 minutes, until the mixture has risen slightly and the edges are set, but there's still a wobble in the middle. Leave to cool completely before serving.

Rhubarb kadaif pie

0

Saturday, 3 March 2018


I don’t really eat pies with the filling in mind. For me it’s all about the pastry mixed together with custard and a bit of the fruit juices - that makes the perfect mouthful of pie and any chunks of soggy fruit just get in the way of my pleasurable experience. This winter though, I’ve become unhealthily attached to roasted rhubarb. I’ve been eating it with yogurt for breakfast, using it to make a British Bakewell classic and drinking rhubarb soda to pep me up for the last leg of the bakery shift. I’m even feeling a bit anxious for when this forced Yorkshire rhubarb season draws to a close, other roasted fruit just doesn’t offer the same texture and tartness - even if they are much cheaper.

You could say that this is more of a crumble than a pie, and the kadaif pastry acts as the crumbly and crunchy topping. But for the sake of the latest running theme on the ol' blog, let's call it a pie. Kadaif, also spelt kadayif, is a shredded filo pastry and you can find it in most middle eastern supermarkets. It’s usually baked in butter and then soaked in sugar syrup in the popular Kanafeh dessert, but I’ve tossed the pastry in butter and sugar to keep it sweet and crunchy, which I think works better with the soft filling. To go alongside this strange Turkish/British fusion is a dollop of Kaymak - buffalo milk that has been boiled down for hours until thick, aka clotted cream. I just ate some of this for breakfast, and as I write this I’m experiencing a sugar comedown, but it is totally worth it. This thing is VERY tasty indeed.


Rhubarb kadaif pie with kaymak

8 x 5 inch rectangle, or 8 inch round pie plate

For the rhubarb filling
  • 420g forced Yorkshire rhubarb, trimmed and cut into 2 inch chunks
  • 60g caster sugar
  • 1 tsp cornflour
  • Zest of 1 orange

For the kadaif topping
  • 120g butter, melted
  • 150g kadaif pastry
  • 60g caster sugar
  • Kaymak, cream or custard to serve
Method 
  1. Preheat the oven to 160C/180F. Put the rhubarb chunks, sugar, cornflour and orange zest into the pie plate and toss to evenly coat the rhubarb.
  2. Put the melted butter, kadaif and sugar in a large bowl and use your hands to mix, making sure the pastry is coated well.
  3. Place the kadaif on top of the rhubarb and spread it out. Leave some gaps around the edges so the rhubarb juices can peak through the pastry as it cooks. Bake for 30 minutes, or until the top is golden and the juices are bubbling. Serve warm with a dollop of kaymak, clotted cream or custard.

Rhubarb Bakewell pie

1

Friday, 16 February 2018

I’m having a pie moment and according to this blog, it’s an on-going moment that has lasted four glorious months and shows no signs of ending. From the outside, this particular pie looks like it has the chicken pox virus but if you dig deeper you’ll see that it’s a Bakewell tart disguised as an American style pie (my favourite rendition of any dessert with a pastry base). What gives this pie it’s alarmingly basic ‘twist’ is that instead of using a jam on the base, as is traditional with Bakewell tart, there is a layer of beautifully pink roasted rhubarb, of which the juices are used to make the water icing that is spread on the top of the cooled frangipane topping. I loved this pie, but it’s not a dessert, so treat it as something to have a slice of next to an afternoon cuppa.

Rhubarb Bakewell pie

Makes one 9 inch pie

I’ve noticed through testing tons of pies recently, that you shouldn’t listen to a recipe that tells you to blind bake for 20 minutes unless you want a soggy bottom. I recommend 30 minutes and then gently lifting the baking beans and checking the bottom. If it’s pale or appearing raw, bake for another 5 to 10 minute until golden brown, and if you need to, put foil around the edges to prevent burning.

For the pastry
  • 200g plain flour
  • 2 tbsp + 2 tbsp caster sugar
  • 115g unsalted butter
  • 1 egg yolk
  • 2.5 tbsp ice cold water
For the fillngs
  • 400g rhubarb
  • 75g caster sugar
  • Zest and juice 1 orange
  • 100g unsalted butter, softened
  • 100g caster sugar
  • 2 eggs
  • 100g ground almonds  
  • 50g plain flour
For the topping
  • 300g icing sugar
Method
  1. Start by making the pastry. Put the flour, sugar and salt in a food processor and blitz to combine, then add the butter and pulse to breadcrumb consistency. Pour in the egg yolk and water and pulse again. As soon as a ball of dough takes shape, stop the mixer. Pour the crumbly dough on a layer of cling film, then lift up the sides and press together to form a disc. Let the dough rest in the fridge for half an hour. 
  2. Roast the rhubarb: begin by preheating the oven to 180C/160 fan. Cut the stalks into 2 inch chunks and place in a single layer in a roasting tin. Sprinkle over the sugar, zest and orange juice, then cover with foil and roast in the oven for 15-20 minutes, the rhubarb should feel tender but still hold its shape. Put the rhubarb through a sieve to separate the juice from the fruit. Don’t press down, just let the juices run naturally - you still want some juice in there.
  3. Roll the pastry on a lightly floured surface, it needs to be large enough to cover a 9-inch pie plate with overhang and should be the thickness of a £2 coin. Place the dough in the pie plate and trim the edges so you have an inch of overhang. Fold the excess pastry into itself to create a thicker lip around the pie. Use your thumb and index finger to crimp the edges, then place the pie in the freezer for 20 minutes. While the dough rests, preheat the oven to 170C/190 fan. Blind bake for 30-40 minutes, remove the pie weights and reduce the oven temperature to 160C/180F. Egg wash the pastry case and put back in the oven for 5-10 until the shell is golden, then let the pie shell cool slightly.
  4. In the meantime, make the filling. Cream the butter and sugar for five minutes until pale. Add the eggs one at a time, beating between each, then fold in the ground almonds and set aside.
  5. Spoon the strained rhubarb into the bottom of the pie shell so you have an even layer at the bottom. If it looks dry, drizzle some of the excess juice over the top. 
  6. Fill a piping bag with the frangipane and pipe the mixture on top of the rhubarb. Doing it this way helps to prevent the rhubarb mixing with the frangipane, but you can carefully spoon it on top if you don’t have a piping bag to hand. Smooth the top, then foil the edges of the pastry and bake for 35 minutes or until a skewer comes out clean when inserted into the center of the frangipane. Leave to cool completely.
  7. Whisk the remaining rhubarb juices with the icing sugar, adding more or less of each until you reach a thick but pourable consistency. Pour the icing over the cooled pie and spread to the edges. Sprinkle with rose pieces before the icing sets, then set aside for 10 minutes before serving. 

Matcha buttermilk white bottom pie

0

Wednesday, 31 January 2018

I am a month late to the party, but can we talk about Cat Person? You would be hard pressed to find a millennial woman who hasn’t experienced something similar, or at least can relate to a fraction of the short story. Something that maddened me most, aside from the patronising tone Robert took with Margot (oh sweetheart, oh honey), was the way Margot wanted to please Robert by giving her body away, even though she felt uncomfortable - she wanted to please him even after the attraction dissipated. How can this still be a common theme in sex, especially during those peak years of adolescence (albeit the most vulnerable years). How many more decades will go by before women finally feel like they have the confidence to say no before it’s too late, to recognise that they own their body and can do whatever they want with it, even if that means hurting someone’s feelings.

Talking of feelings, this pie will hurt yours if you don’t like the taste of matcha. I’m actually not the biggest fan, and if I were to bake this again I’d use one tablespoon instead - but I was making it with a matcha-lover in mind, so the flavour is at the forefront of this version. All of the other components, the almost savoury and deeply cocoa-y shortcrust, the white chocolate ganache bottom (inspired by four and twenty blackbird’s genius black bottom), really do act as an (enhancing) backdrop for the matcha buttermilk custard.


Matcha buttermilk white bottom pie

For the chocolate pastry
  • 370g plain flour
  • 4 tbsp icing sugar
  • 30g cocoa powder
  • ¼ tsp salt
  • 225g unsalted butter
  • 3 egg yolks + 1 more for egg wash
  • 3-5 tbsp ice cold water
Pastry makes enough for two open pies. Split the dough in half and place the second half in the freezer where it'll keep for one month. You could also half the quantities, i'd recommend using one large egg yolk and more water. 

For the matcha buttermilk custard
  • 200g sugar
  • 1 tbsp fine polenta
  • ½ tbsp matcha powder
  • ¼ tsp salt
  • 3 eggs + 1 egg yolk
  • 290g buttermilk
  • 40g double cream
  • 50g butter, melted and cooled
For the white bottom
  • 100g white chocolate, chopped
  • 40g double cream
Method
  1. Start by making the pastry. Put the flour, icing sugar, cocoa powder and salt in a food processor and blitz to combine, then add the butter and pulse to breadcrumb consistency. Pour in the egg yolks and 3 tbsp water and pulse again, add the rest of the water if the dough is too dry. As soon as a ball of dough takes shape, stop the mixer. Pour the crumbly dough onto a layer of cling film, then lift up the sides and press together to create a round disc, being careful not to overwork it. Put the dough in the fridge to rest for half an hour (or overnight).
  2. Make the filling. In a large bowl, whisk together the sugar, polenta, matcha and salt. Add the eggs and whisk again, followed by the buttermilk, cream and melted butter. Pour the mixture into a food processer or Nutribullet type vessel and blitz to remove any lumps of matcha powder. Refrigerate the mix while you roll out the dough.
  3. Split the chilled dough in two, and place the second half in the freezer to use for another pie. Roll out the dough on a lightly floured surface, it needs to be large enough to cover a 9-inch pie plate with overhang and should be the thickness of a £2 coin. Put the dough in the pie plate and trim the edges so you have an inch of overhang. Fold the excess pastry into itself to create a thicker lip around the pie. Use your thumb and index finger to crimp the edges, then place the pie in the freezer for 30 minutes. While the dough rests, preheat the oven to 170C/190F. Blind bake for 37 minutes, remove the pie weights and reduce the oven temperature to 160C/180F. Egg wash the pastry case and put back in the oven for 5-10 minutes until you see a bit of colour on the dough, then let the pie shell cool and reduce the oven to 120C/100F.
  4. Make the white chocolate ganache. Put the chocolate and cream in a bowl and microwave for 30 seconds, then stir. Microwave in 10 second increments until smooth. Pour the ganache into the cooled shell and spread to the edges. Place in the freezer for 10 minutes to set the ganache hard.
  5. Put the pie on a baking tray, then strain the custard straight into the pie plate and carefully put in the oven. Bake for 1-2 hours, covering the edges with foil if they are over-browning. There should be a slight wobble in the middle but the sides should be set. Let the pie cool completely before slicing and demolishing.

mbakes All rights reserved © Blog Milk - Powered by Blogger