Tuesday, 27 August 2013

Kurabiye Crescents {Almond Shortbread}

This is such a wedding biscuit. Look at it! All covered and tossed in icing sugar when it’s still warm, making the first layer of sugar go this warm yellowy colour that kind of tastes like almond buttercream.

This is the best traditional biscuit ever ever ever, ever.

Wednesday, 21 August 2013

Easy Peasy Lemon Tarts

What’s better than making custard in a saucepan? Sorry: two saucepans, a sieve, a freestanding mixer and a chopping board if we’re feeling fancy enough to scrape the seeds of a £4 vanilla pod?

Making custard in the oven. With one mixer and four ingredients, thats including the extra flavouring .

And since you only really ever attempt the gruelling custard making task when the sweet liquid occupies some sort of tart (Birds is perfectly acceptable for everything else, don’t let anybody tell you different), we cant exactly omit the ice water bowl, floured worktop and god knows whatever else it takes to actually make pastry all short and buttery instead of soggy bottomed and too-stiff-to-chew (in my case anyway).

But here’s an idea, pastry, how about propping up in my kitchen when I’m in the mood to spend an extra hour by the sink, perhaps when mother hasn’t just had a gallstone the size of an egg yanked out of her? The surgeon said it was like giving birth.
Back to more food blog appropriate dilemmas: tart bases: digestive bases, in particular. This blog is full of them. See this time…not forgetting the first time. Pretty much never looked back after that last time. Just look at this tart disaster, ain’t nobody got time for that.

A grown up and ‘mouldable’ digestive base uses a ratio of 1:2 butter to crushed rubble biscuit, basically, the greasier the easier. I used little disposable trays after seeing this pin and falling in love, so it was harder to get cleaner edges*. But who’s complaining, there are less awkward shaped whisks and bowls to be hand washed!

Back to custard. Three 18cm tarts equal six lemons, so that’s two lemons for every one tart. That’s a damn lot of tang for one tongue; so you can just imagine how much these new age tart's pack a feisty punch. But the creaminess from the baked custard foundation helps to cut through the citrus, every bite you’ll find yourself falling into a trap of sweet, sweet addiction.

*you can avoid this completely by using a tart tin.
Easy Peasy Lemon Tarts

Adapted fom From The Kitchen's Ultimate Lemon Tart

Ingredients

Filling
7 eggs
3 egg yolks
350ml double cream
1 + 1/3 cup caster sugar 
400ml lemon juice (6 lemons)

Base
500g digestive biscuits 
250g unsalted butter, melted 

The Method:

Heat the oven to 200 degree C | 400 F. 

For the crust, place the digestive biscuits in a food processor and blitz to make fine crumbs. Gently pour in the melted butter and sugar whilst still blitzing. Press into 4 | 18cm foil cases or a 23cm | 9 inch pastry case. Chill for 10 minutes. 

Bake the crumb crust for 10 minutes or until browned. Set aside.

Reduce oven temperature to 180 degree C.  

Make the filling. Juice lemons and set aside. Whisk the eggs and sugar together for 5 minutes, until the sugar dissolves and the mixture turns a pale yellow. Slowly add the cream until incorporated and then the lemon juice. The mixture will be abundant, mix until completely incorporated. Skim all of the froth from the custard with a spoon. Discard this, or place in ramekins and bake separately for 20 minutes

Place the pie case/s in the oven with the racks coming out of the oven so that you can easily pour the filling into the case/s. Transfer the filling into two jugs, slowly pour the filling into the pies whilst they are on the oven rack. Bake for 30 minutes for smaller tarts, or 45 minutes for one large tart.

Leave to cool in the case/s on a wire rack for at least half an hour, before transferring to the refrigerator for 1 hour to set completely. The tarts will keep for 4 days in the refrigerator.
A word about Google + comments... If you were thinking about switching over, well, you shouldn't because you will regret it! I switched back in July, and received a few emails from readers telling me they were unable to comment without a gmail account. Those cheeky google marketing boffins, aye?! For the sake of my sanity, I have completely switched over to Disqus, which means that everyone who has commented between now and July, I am really sorry but your comment has been lost!
Love Em xx

Friday, 16 August 2013

Fig and Mint Frangipane Crostata

When I was seven or so I used to look like the Michelin man. In the jollier days, our family would pack our bags once/twice a year and jet off to Northern Cyprus. That’s the other half yet to adopt McDonalds, where produce is rich and capital struggles, but that’s a story best told on Wiki. A lot of their tiny population make ends meet by harvesting fruits and vegetables and selling it off to traders.
For the best part of these holidays, I’d climb in my Granddad’s rusty blue van and in under 10 minutes we’d arrive at his corner of Cyprus land. There were hundreds of vine trees all perfectly aligned for as far as my eyes could see. It was so easy to get myself lost in the vibrant greens that I almost didn’t mind getting my kankles stuck in mud whilst trudging towards the vine leaf drooping closest to the ground.

Also, have you ever tried eating a raw vine leaf? My mouth would stop at nothing.
On another day I’d climb the ladders resting on the loquat trees and pick bucket-fulls of marvelously yellow and catatonically flavoursome ovals with my step nan. Her land was denser than Granddads. The leaves were darker green and the loquat bearing trees were sky high. If I were to go back, 10 years later, I’d probably be in for a sizeable shock.
I was never taken to where the fig trees grew, which was a shame really, because I was such a fig fiend. I was emotionally connected to them, right down to the shape of the fruit, they kind of look like the Michelin man’s teardrops - overly plump at the bottom. The under-ripe green figs had the best flavour; the centers were always lusciously pink and the taste fresher. The pulp and goo of the fig's core, although cringe worthy, was the perfect consistency.
Poking mint leaves into the crostata’s folds gives it an added Mediterranean kick, and what’s a crostata without frangipane? What’s a dessert without frangipane, or a breakfast?  Almonds, sweet scented roasted figs and refreshing mint piled together on flaky rich pastry dough: it’s also simple to put together. All it takes is smearing the butter into the flour with the palm of your hand, no ice water on the side, no need for a marble work top, just pliable pastry that comes together really easily.
Ingredients

Adapted from Flour Bakery's Roasted Pear and Cranberry Crostata 

Pâte Brisée II
140g plain flour
2 tsp (15g) caster sugar
1/2 tsp sea salt
128g cold unsalted butter, cubed
1 egg yolk
1 egg, beaten
2 tbsp (30ml) cold milk
2 tbsp granulated, demarara or sanding sugar

Frangipane:
50g ground almonds
56g unsalted butter, softened
50g caster sugar
1 egg
2 tsp plain flour
1/8 tsp vanilla extract
Pinch of sea salt

Filling:
9 ripe figs, quartered
1 tbsp juice
5 mint leafs

Crostata serves 8/10 

Note: For better pastry, make it a day in advance and leave to firm up in the fridge.

Note II: Green figs are hard to come by in England, but if you can get some, then definitely use these instead of their ripe counterpart. 

Method:

Start with the pâte brisée II. In the bowl of stand mixer with paddle attachment, or normal bowl, stir together flour, sugar and salt. Scatter cubes of cold butter over the top and mix for 50 seconds until you have walnut sized pieces of butter and flour.

In a cup, stir together milk and egg. Pour the egg straight into flour mixture and mix until everything has just started to come together; about 30 seconds.

Put the mixture atop a clean surface and gather into a mound. Then, using your palms, slide your hand across the surface of the dough until all of the butter is smeared into the flour, but you can still see thin streaks of butter. Scrape each part of the dough with your palms twice until eventually, everything comes together. Wrap the dough in cling film and flatten into a disk. Place in the fridge for 4-24 hours.

Prepare the frangipane. In a freestanding mixer with the paddle attachment (or a spoon), cream together the butter and sugar until pale and fluffy. Add ground almonds and mix for 1 minute. Scrape down the sides of the bowl. On low speed, add the egg, then the flour, vanilla & salt. Set aside.

Cut the figs in half, and then in half again to produce little quarters. Add them all into a bowl with the lemon juice and stir to coat. Set aside.

Line a large baking sheet with parchment paper. On a floured surface, roll out the dough into a circle 10 inches in diameter and place on the baking sheet. Using a spoon, evenly spread the frangipane in the middle of the dough about 7 inches in diameter, making sure to leave 3 inches around the edges completely uncovered.

Place all of the cut figs into the frangipane in a decorative way. Take one side of the crostata and fold the 3 inch boarder up and over the fruit. Take another piece adjacent to the fold you just made, and fold that over. You should end up with 7 pleats. Squash the mint leafs between the figs, making sure they're well spaced. Refrigerate the crostata for 30/60 minutes.

Preheat the oven to 180 C. Generously brush the crostata pastry with the beaten egg, then evenly sprinkle with sugar. Bake for 1 hour 10 minutes, or until the sides are completely golden. Leave to cool on the baking sheet for an hour. Remove the mint leaves once cooled.

The crostata will keep for 2 days.
Hang on a minute, isn't that a galette? Or a crostata? What's the difference?! Somebody.

Anybody? 

Love Em xx

Thursday, 8 August 2013

Pierre Hermé's Chocolate Sablés


If I could control the way the wind blows, you’d probably be feasting your eyeballs on a hazelnut almond dacquoise. 

Apparently though, there is some crazy machinery that can control the wind, and it in turn, control the weather. If I could just get my hands on that piece of machinery, things would be a whole lot different. I could have used said machinery (god knows if its even a machine) and be like: “Wind, how about you blow that way today, and not on that gigantic piece of wood hovering over my pretty little rectangular torte which was JUST enrobed in the silkiest and most delicious ganache?”


After a laughing fit mixed with tears, I was so close to just leaving the thing to lye there forever. 

Deflated.

The dacquoise inventor, Joanne Chang from Flour Bakery suggested I made parfaits with the crushed remains, I took her advice, obviously, the woman has knack. 

It was like throwing my aching heart into a glass and drinking it as if it were a glass of red.

RE ganache, 150g  37% (Green & Blacks), 150g 33.6% milk (any brand, just to soothe the taste a little), 100g 70% dark chocolate  (Green & Blacks) and 480g double cream = go there.


Cue rebound sables. Egg whites play a key role in giving these biscuits the crumbliest texture. We like things that melt in our mouths, yes? A small amount of icing sugar provides just a smidge of sweetness, and the corn flour content within the icing sugar also lifts the texture to a feeling in my gob I’ve never quite experienced before.

We won’t need much cocoa - a little goes a long way here. But it has to be dutch processed because its not as sweet, has a deeper colour (which darkens the cookies better than natural cocoa when baking, to make them look even more delicate) and smoother taste. Smooth is good when its coupled with crumbly. Crumbly, smooth, short sables right outta Pierre Herm’s kitchen.

As I had a bunch of nuts lying around from the previous disaster, I’ve made these sables go four humble ways.

Feeling a little…. 


Patriotic?

Or maybe you’re just feeling downright crazy?


Toasty?


Like you could dip yourself into a pool of chopped hazelnuts?


Pierre Hermé's Chocolate Sablés

The Recipe:


Sables:
30g dutch process cocoa powder
3 tbsp egg whites
100g icing sugar
260g plain flour
250g unsalted butter, very soft
Pinch sea salt

Decoration:
100g Green & Blacks milk or white chocolate, melted
chopped nuts or sprinkles
1m (open star) nozzle & disposable piping bag

The Method:

Preheat the oven to 180 C and line to baking sheets with parchment paper.

This bit is important. Sift the cocoa, flour and salt and set aside.

Make sure the butter is very soft. Place in a bowl and whisk until light and creamy. Add the icing sugar and whisk until paler in colour. Add the egg white, mix until blended.

Stop the mixer. Pour in the flour mixture. Whisk on medium speed until just incorporated.

Fit a piping bag with a 1M nozzle and spoon the mixture inside, make sure there are no air bubbles. Pipe W's onto the baking sheets, spaced a couple centimetres apart.

Bake for 11 minutes - no longer. The cookies will be delicate - leave to cool on the sheets and then transfer to a sealed jar.

To decorate, dip in melted chocolate, then dip in sprinkles or nuts. Leave to dry on parchment paper.

Biscuits will last up to one week.


When my torte died, I thought to myself - how the hell did you scrape the short list when you’re this much of a careless clutz? Then I remembered that some of you nominated, then I made this ingenious recipe. Then I shared the recipe. Now I feel better.

Voting for the Cosmopolitan Awards ends this month; if you fancy giving me your vote, please click here and go to the “Best Food Blogger’ category

Thank you! Love and peace, Em xx

Thursday, 1 August 2013

Tres Leches {Three Milk} Cake

Lets talk about milk.

A nutritional collection of butterfat globules extracted from cows. We chug down 5 billion litre’s every year in the UK and apparently, that’s nuffin’ compared to India, the biggest consumers on the planet.

I hate milk. It makes me feel sick, before I knew that milk and me had issues, I used to think I was carrying a 10-year-old invisible fetus that just wouldn’t give. Three milk cake made by a milk misogynist? I’ll be damned if this bitch thinks its okay to keep on blogging.
Genuine reason people: my sister moved out last week, so she had first call on which cake was coming out of the oven. You know, the one that she was never gonna cook fish fingers in ever again. Big, big changes.

Tres Leches, she insisted. What the crap is that? A few pins later and I am partially informed about the cakes of the world and wanting to know how those all around the globe utilize their milk. 
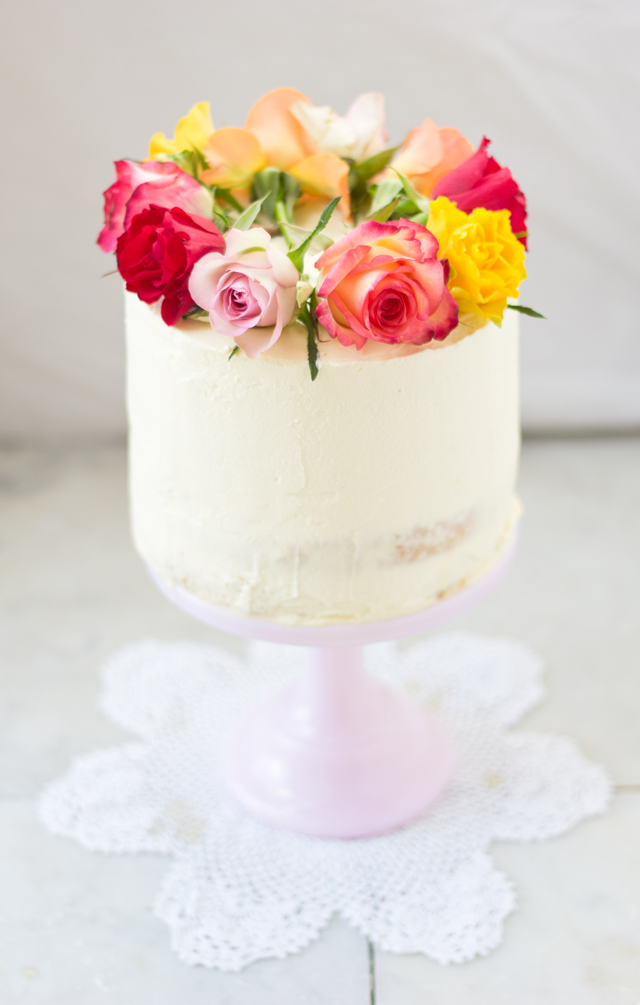
This cake is an authentic, Mexican after dinner dessert, pure tradition at its height. Tres Leches simply means three milks, a plain light sponge is soaked (DRENCHED) in all three of these milks with a touch of vanilla. The cake is then coated in sweet cream. Tres leches cake has lactose written all over it, as well as sweetness, and apparently, it’s the best cake ever.
This cake can be turned on its head, flavour wise. Think coconut. Think chocolate tres leches. Think expresso or pumpkin for the autumn, ginger and cinnamon on Christmas day and a berry coulis filling next week. I think my sister was mostly excited about the milky goodness, so I stuck with authenticity. I didn’t taste it, how could I?

The Recipe:

Adapted from Patis Mexican Table's Pastel de Tres Leches

For the cake:
1 cup caster sugar
9 eggs, separated 
1 tbsp vanilla extract
2 cups plain flour
For the soak:
1 tin (397g) sweetened condensed milk
3/4 tin (340g) evaporated milk
1 cup semi skim milk
1 tbsp vanilla extract
Topping:
1200ml double cream
3 tbsp (brand) vanilla sugar
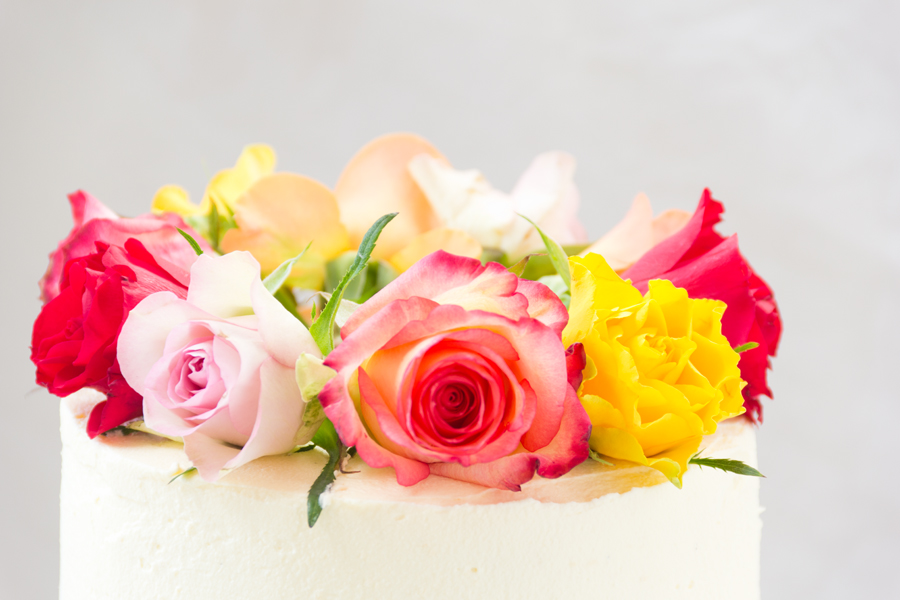
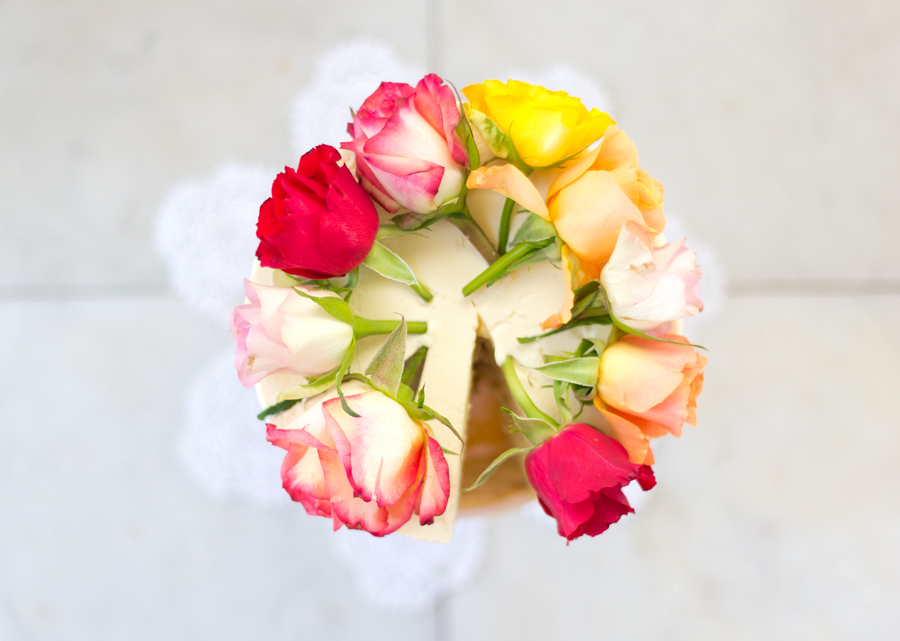
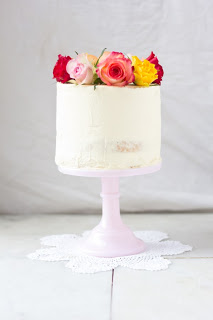
A bunch of pretty roses: I used roses on the cake purely for decoration. If you wanted, though, you could make them edible by crystallising with egg whites and sugar.

The Method:

Preheat the oven to 180 C. Line two 6 inch cake tins with parchment paper.

Make the sponges. Pour all of the egg whites into the bowl of a freestanding mixer fixed with a whisk, or in a large bowl with an electric mixer, and whisk on high speed for 4 minutes until stiff peaks form. Slowly add all of the sugar to the egg whites until the mixture is glossy, and when you hold the whisk up, some of the mixture goes with it.

If using a stand mixer, transfer the whites into a large mixing bowl and rinse the bowl and whisk ready for second use. If using an electric whisk, just rinse this instead.

Add all of the egg yolks to the mixer and whisk on high speed for 5 minutes, or until fluffy and pale in colour. Pour in the vanilla and whisk for another minute.

Carefully fold the egg yolks into the egg white mixture using a spatula in the 'figure of eight' motion until you no longer see white streaks. Fold in the flour, making sure to scrape the sides of the bowl. Keep folding until all of the lumps disappear.

Pour the mix into the prepared cake tins and bake for 22 - 25 minutes, until lightly browned. The cakes will be a little moist, and a toothpick should come out clean.

Turn the cakes out of the pan and leave to cool on a wire rack. Once cooled, place back in the cake pans or onto 2 plates.

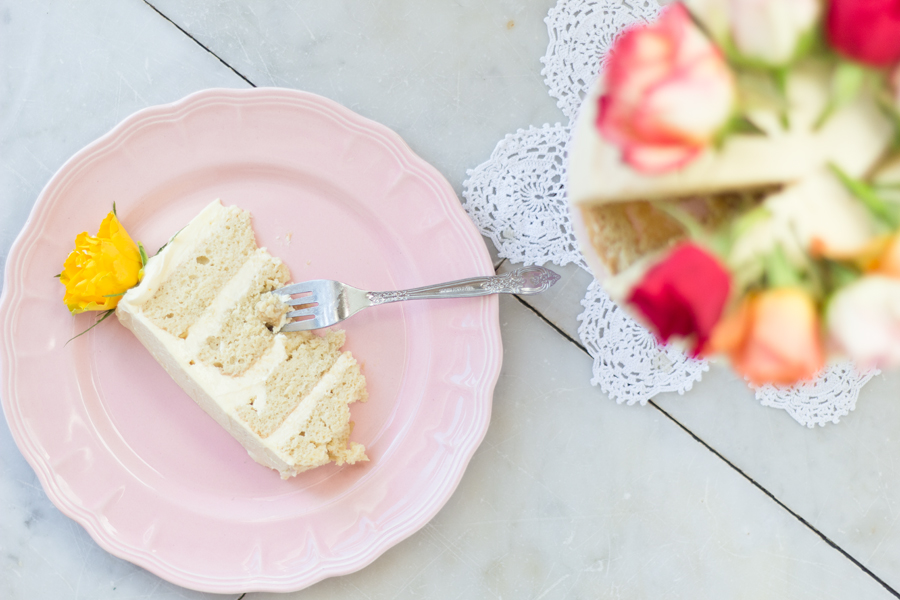
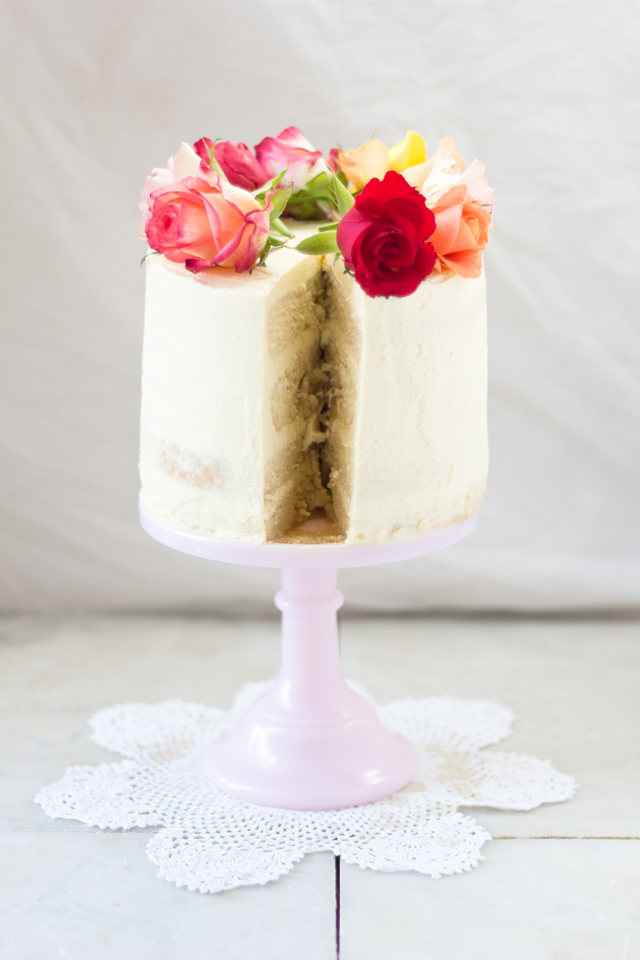
Make the milk sauce. In a large jug, stir together the evaporated, condensed, and liquid milk. Slice both cakes horizontally to make four layers. Pierce the cakes in several places with a fork and slowly pour the sauce over each cake. Wait a couple of minutes after each pour, the cakes will hold all of the sauce so keep pouring! Refrigerate the cakes for at least 2 hours to set.

Make the topping. Whip the cream until soft peaks form using an electric whisk or freestanding mixer.

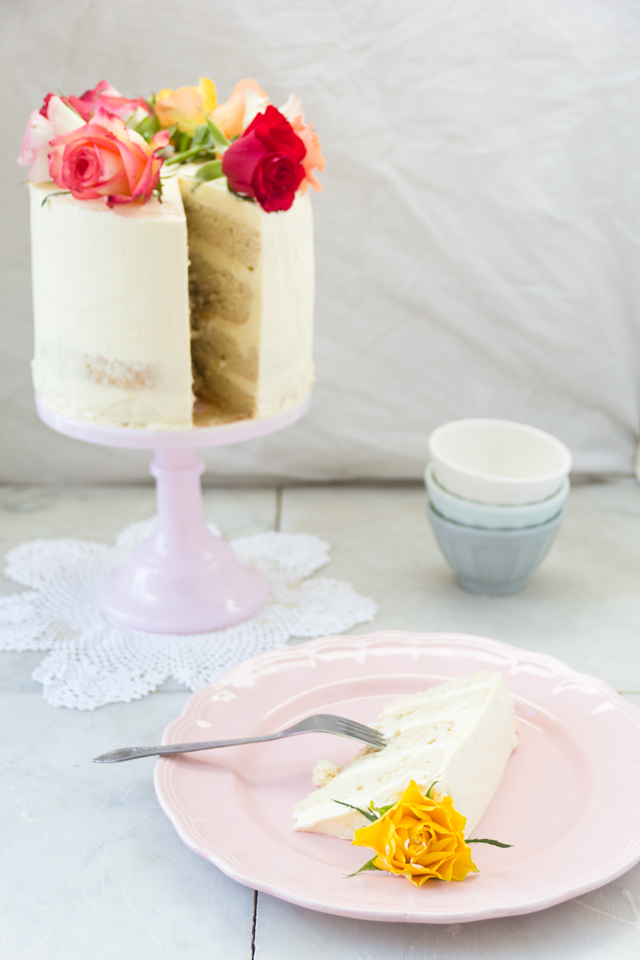
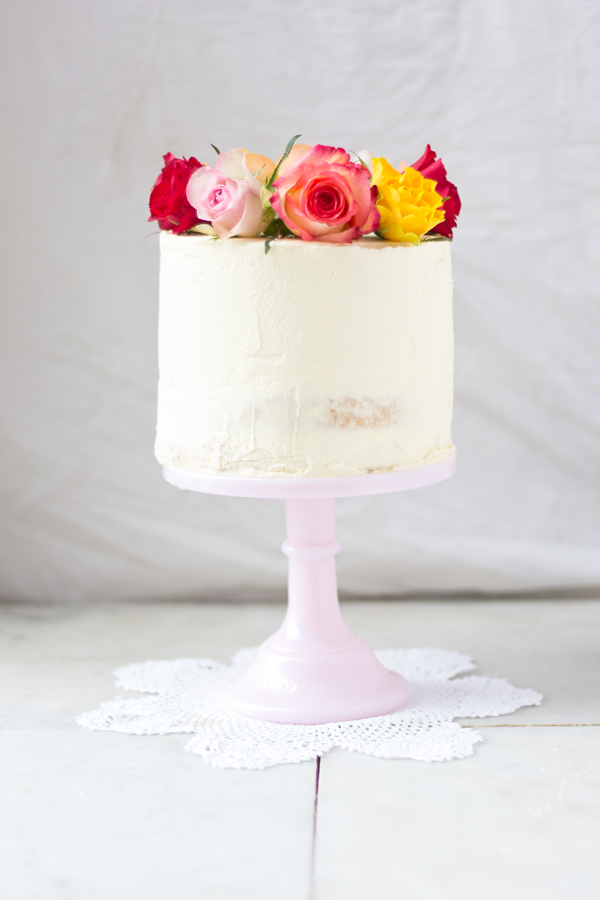
Assemble the cake. Add 3 large tablespoons of cream between each layer and spread to the sides, then place cakes on top of each other. Cover the sides with cream and decorate the top as desired. Store in the fridge, the cake will keep for 3 days.

It's finally August! Where are we all going on holiday?! My cookbook giveaway ends in 5 days, head over here if you fancy entering! 

PS. It was so, sosososososo hot when I photographed this badboy - hence the extremely obvious stains on the doily, hellooooo milky drippings.

Love Em xx

I am really sorry but all comments for this post have been lost in Blogger's system/archive/brain somewhere and I cant retrieve them! Please forgive me x
Template by Pink + Lola