Wednesday, 31 October 2012

Vanilla Bean Shortbread Thins

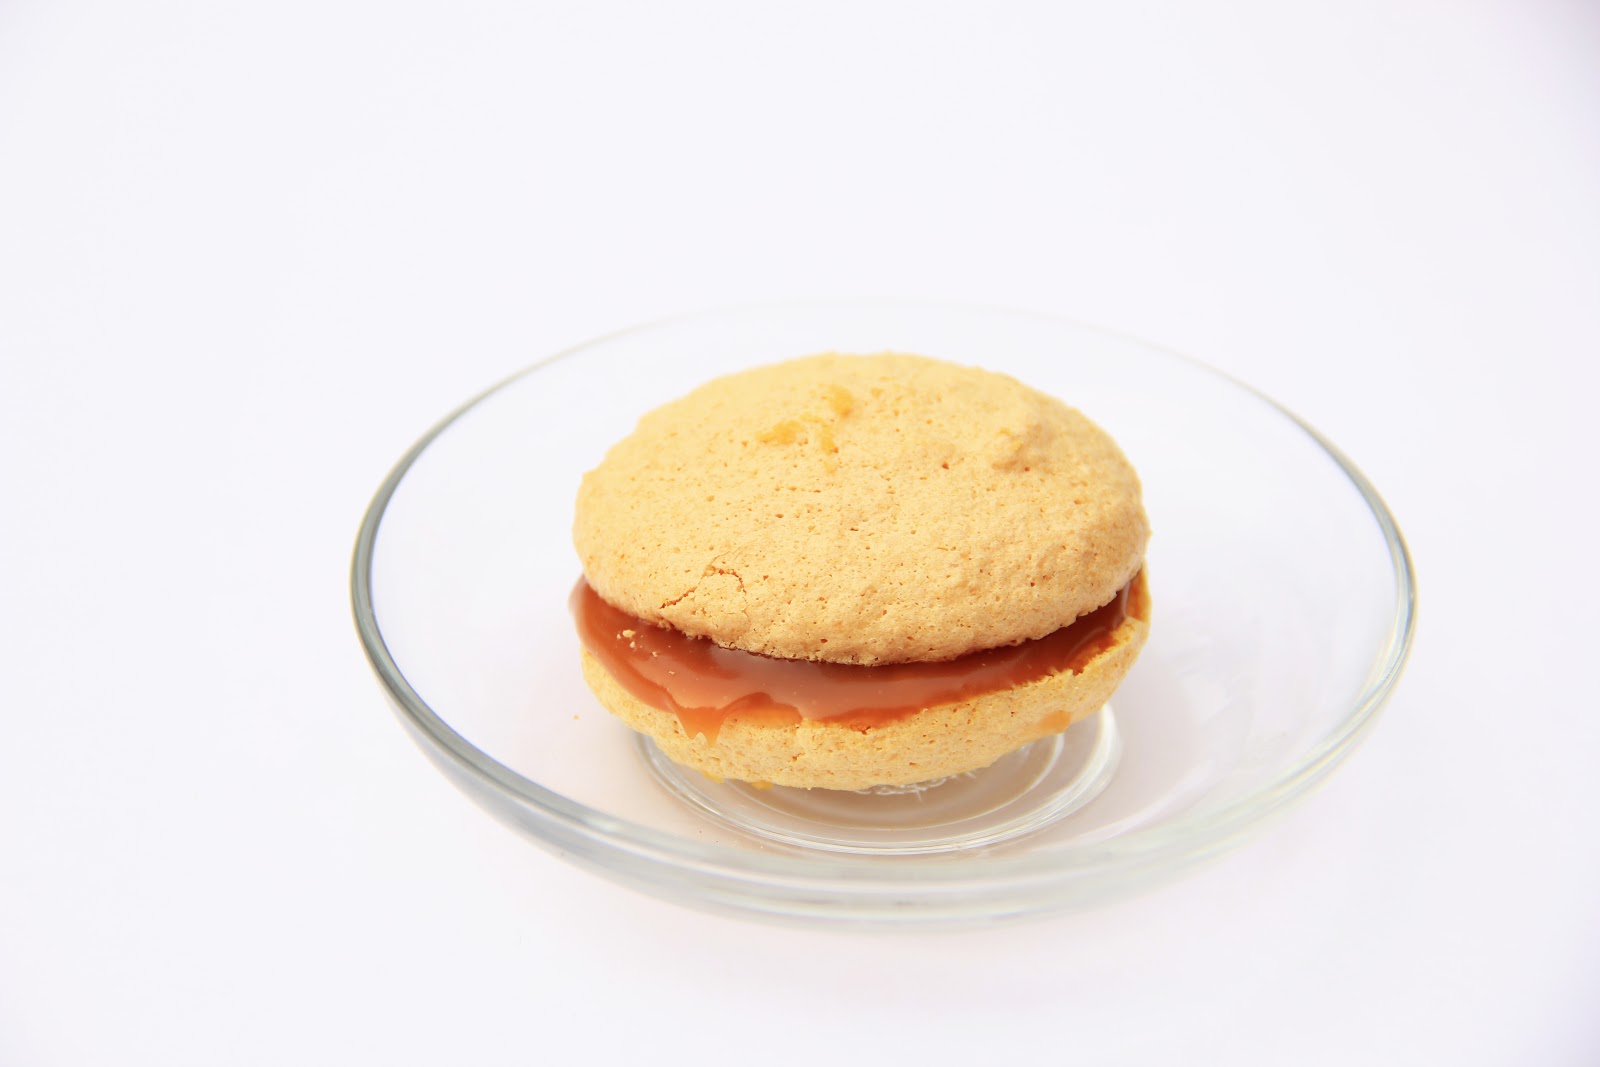
Here at the Hassan household we are DIEHARD short bread fans, so when I came across this elegant biccy over at Poires Au Chocolat, I knew that I needed something similar to fill my council house with buttery, vanilla-ry wafts that were coming from the oven. As Poires mentions, the short bread 
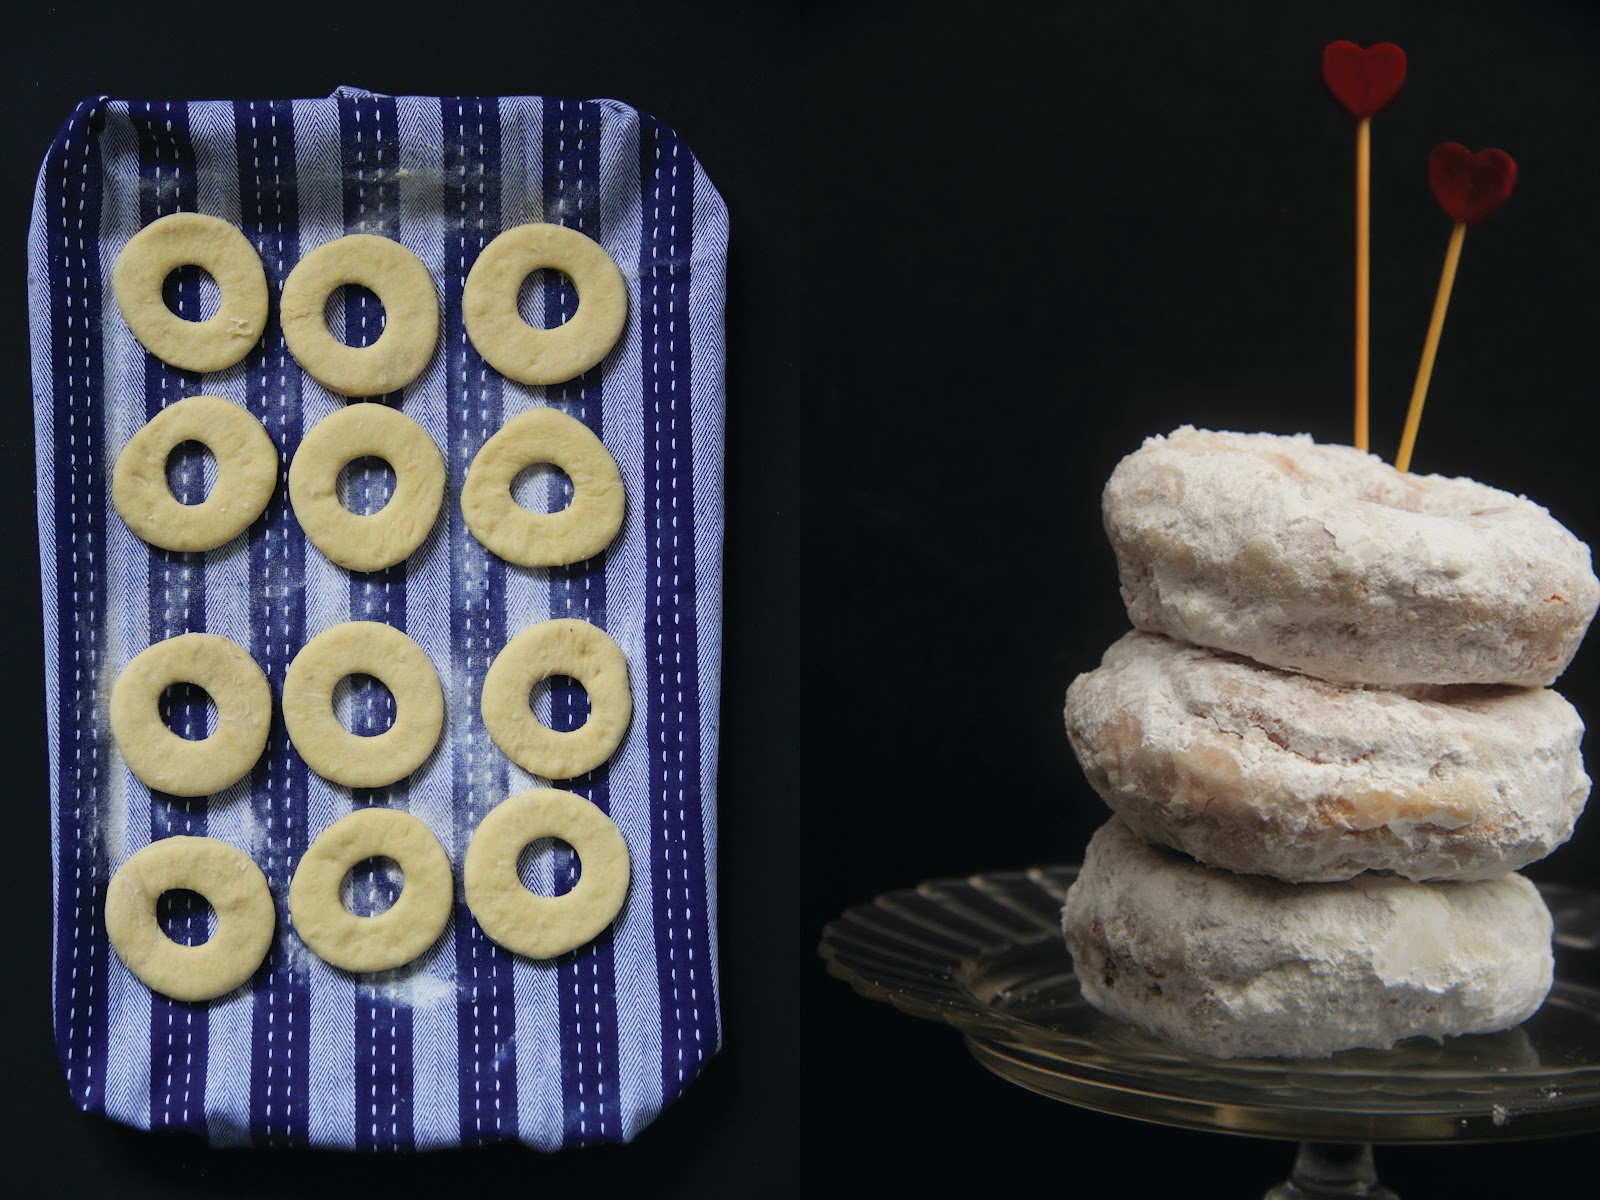
tasted much better the day after baking, giving the thin little shorty’s time 
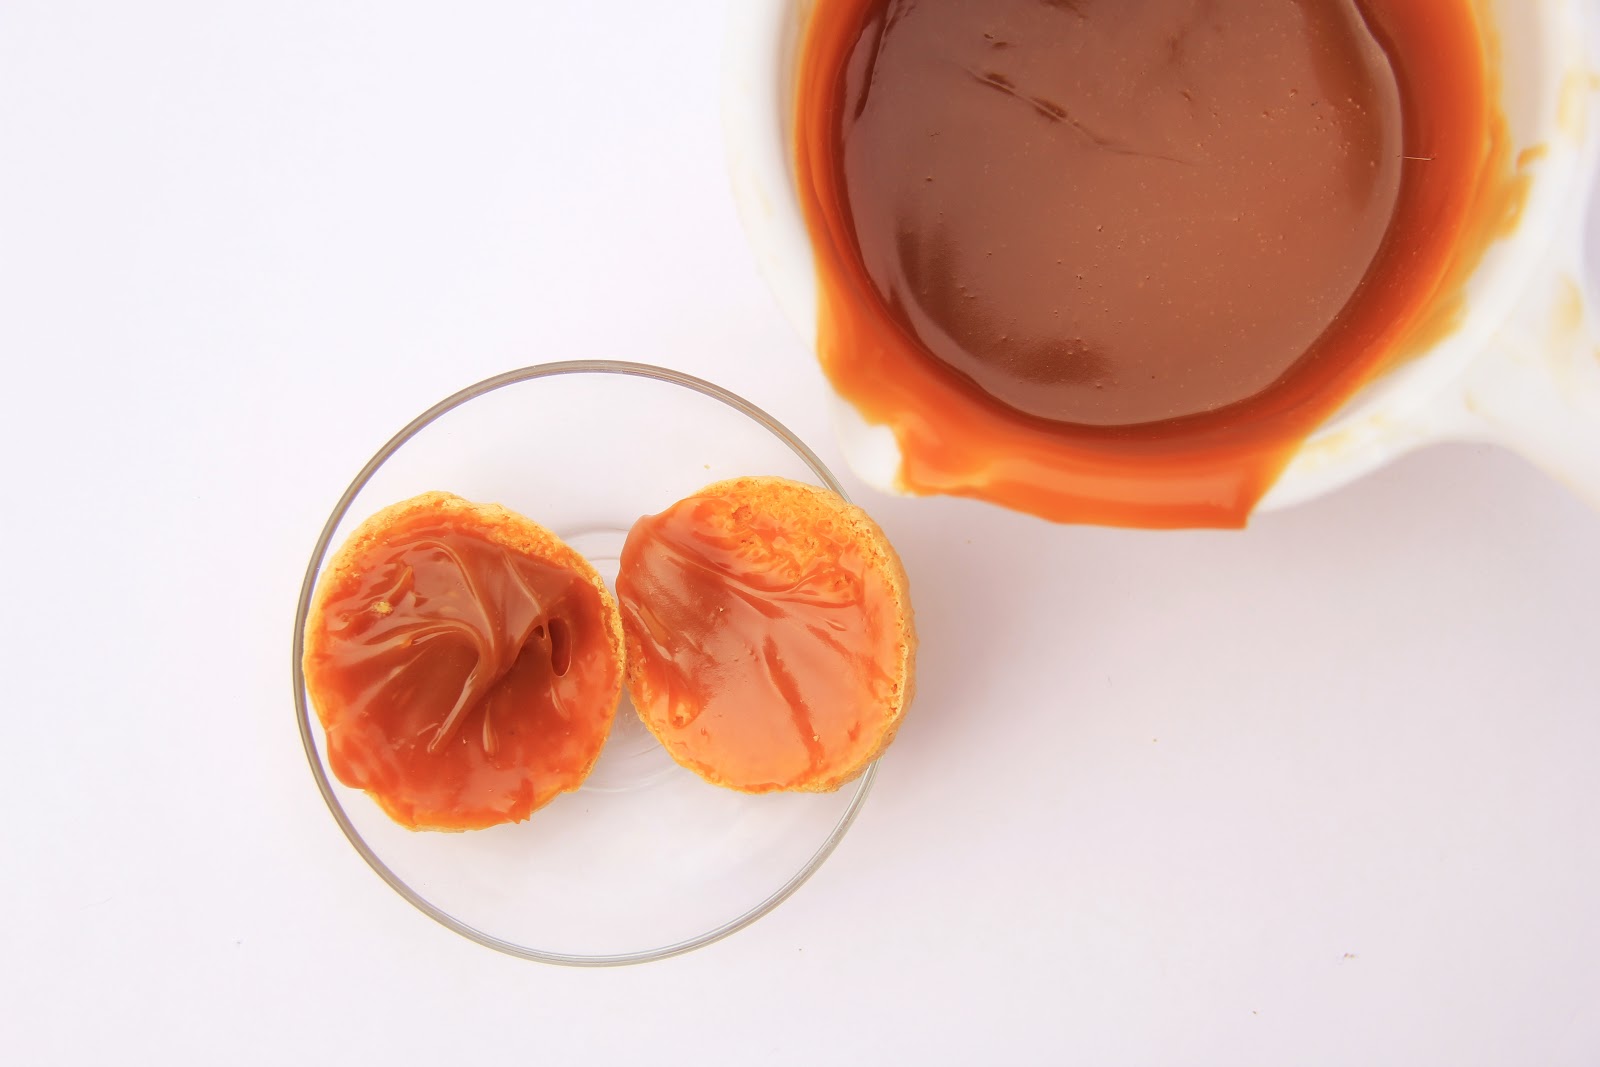
to come into their own, crunchy short selves. Tonight, I am tired - I have traveled the earth and back on every possible tube and train existing in London 
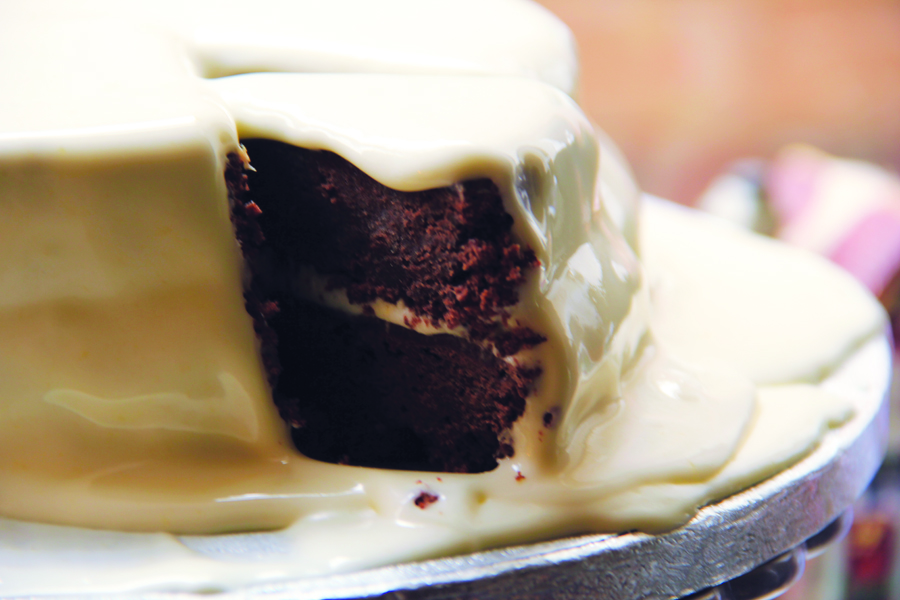
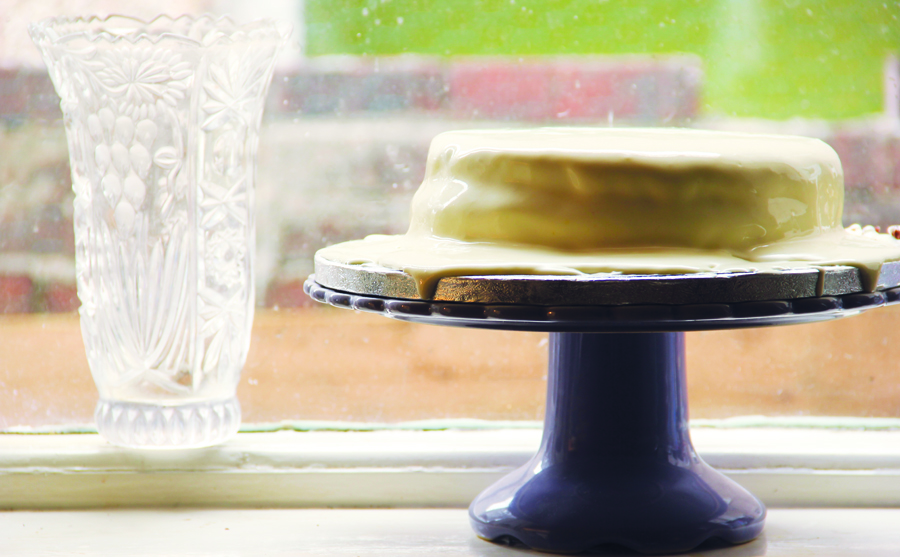
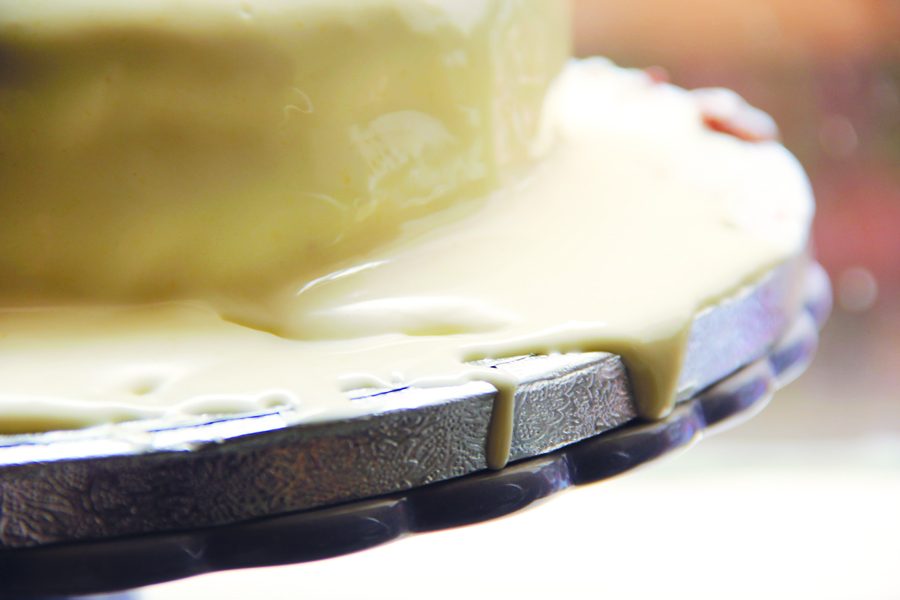
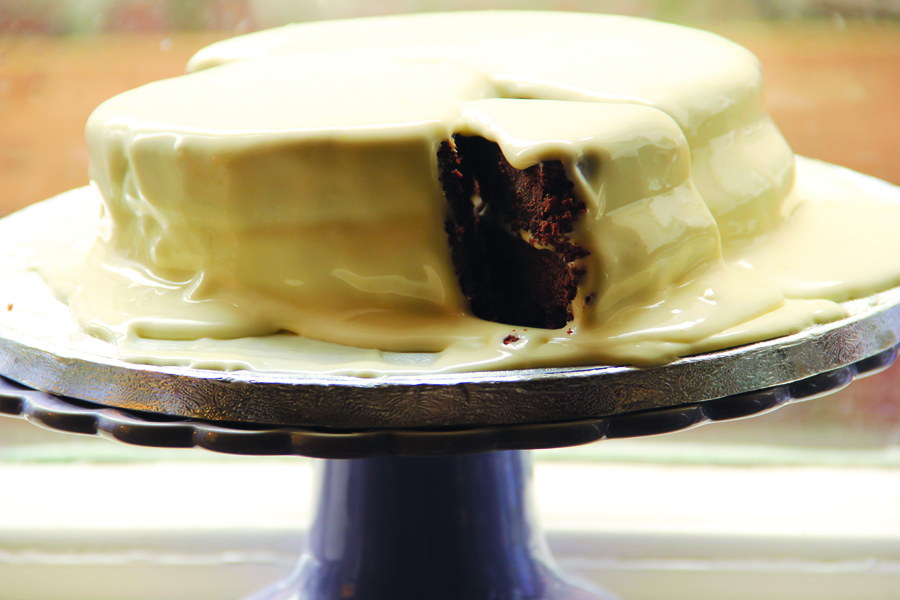
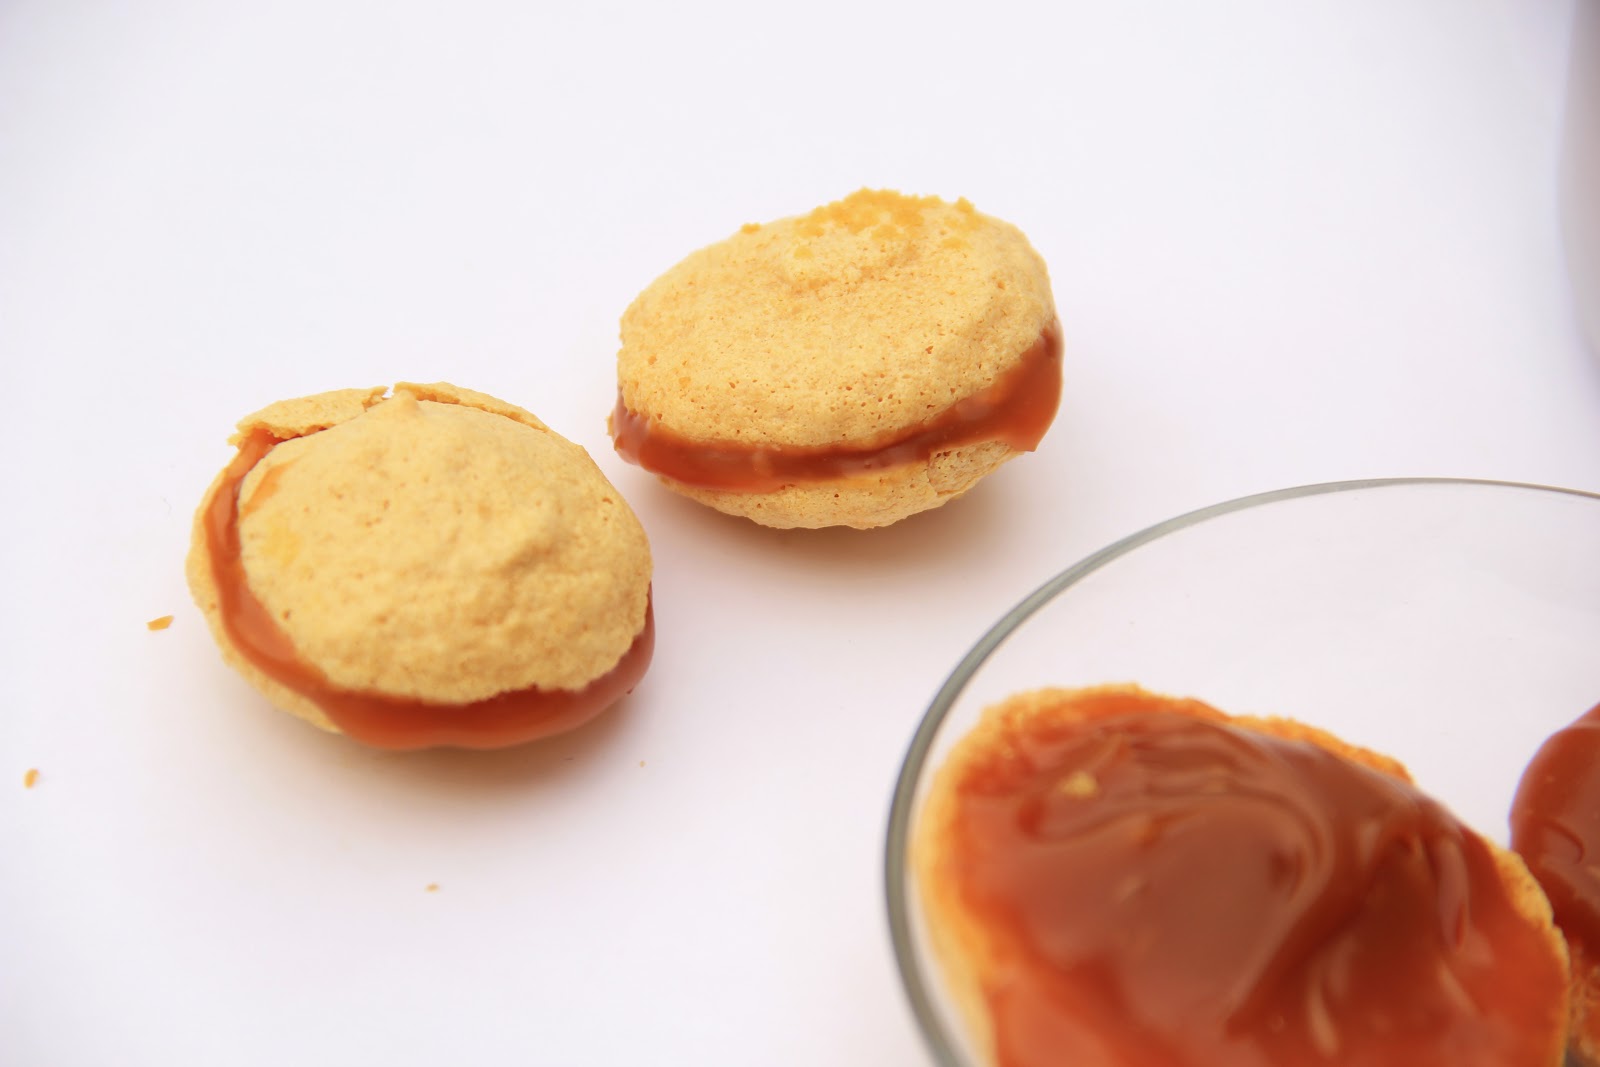
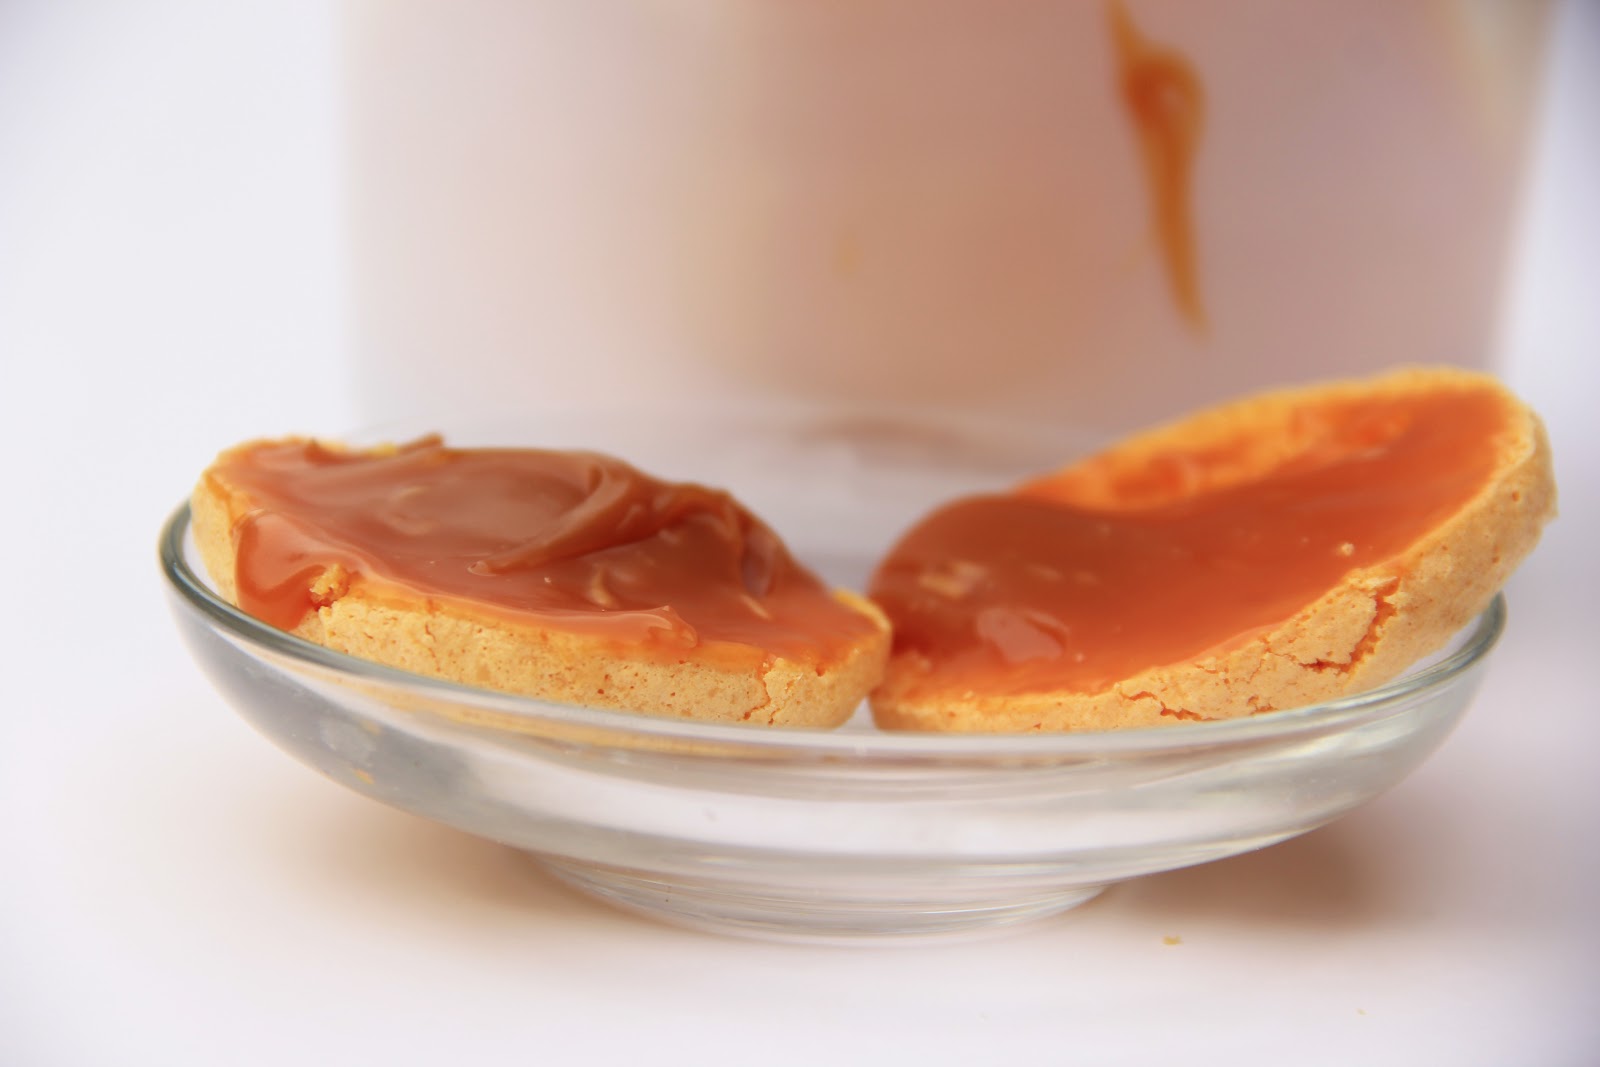
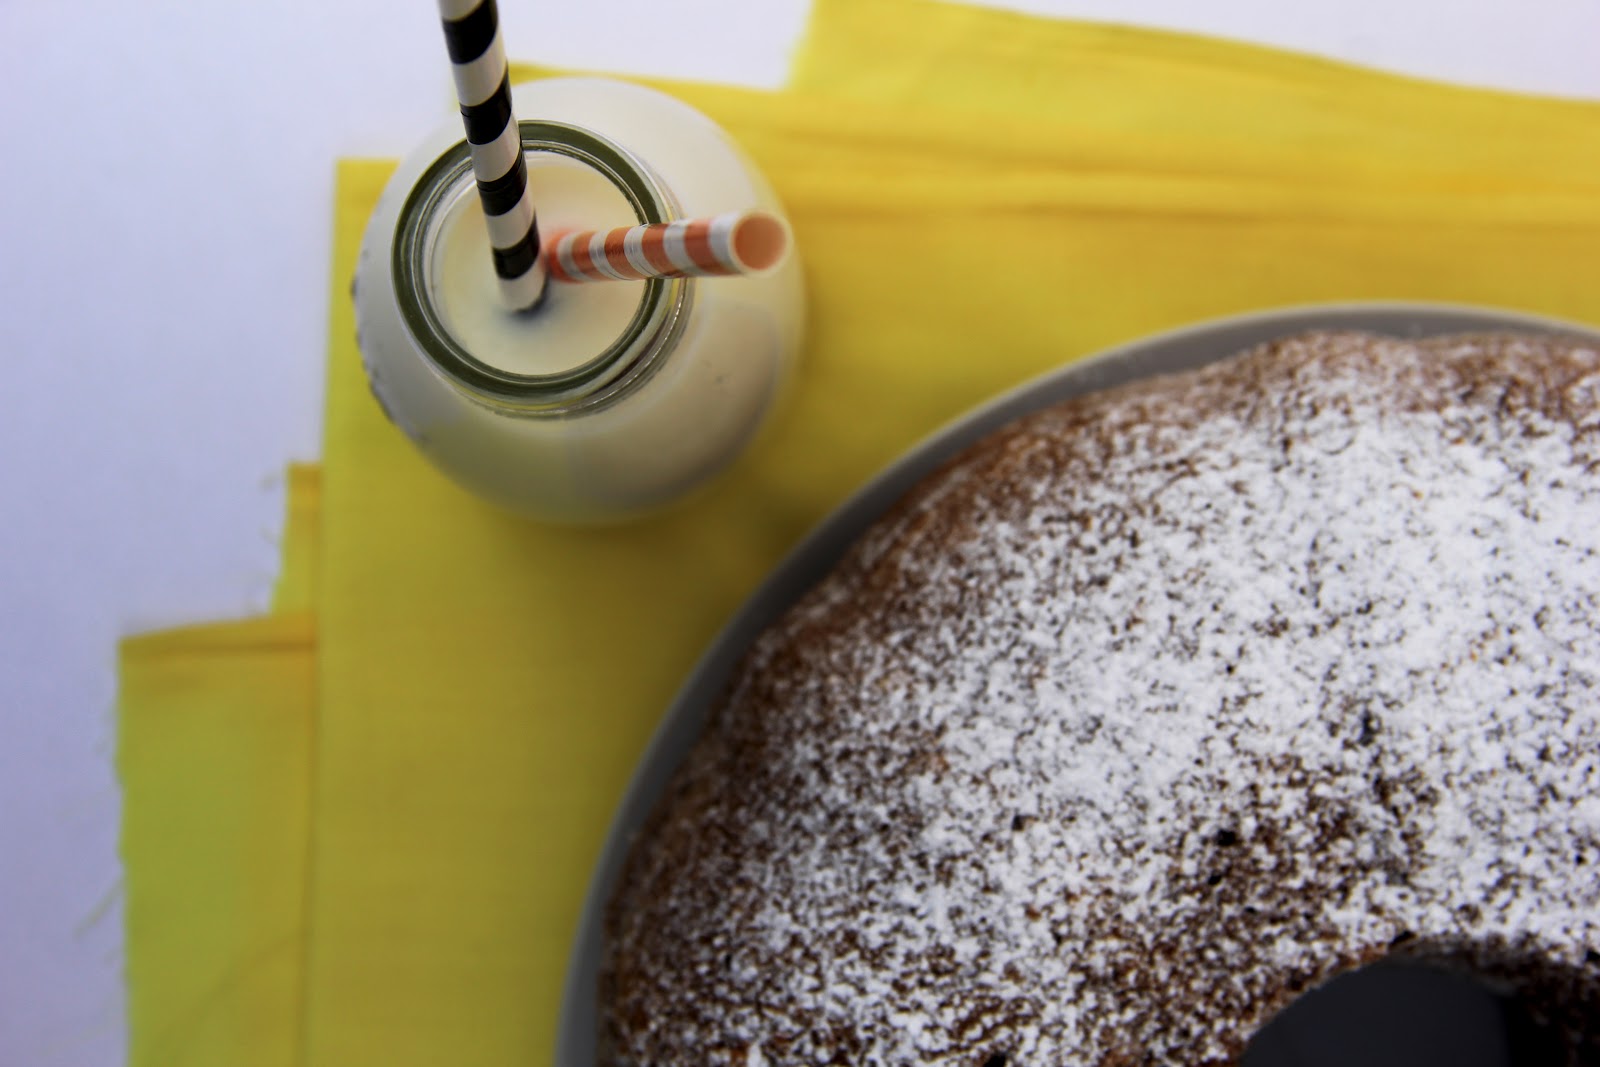
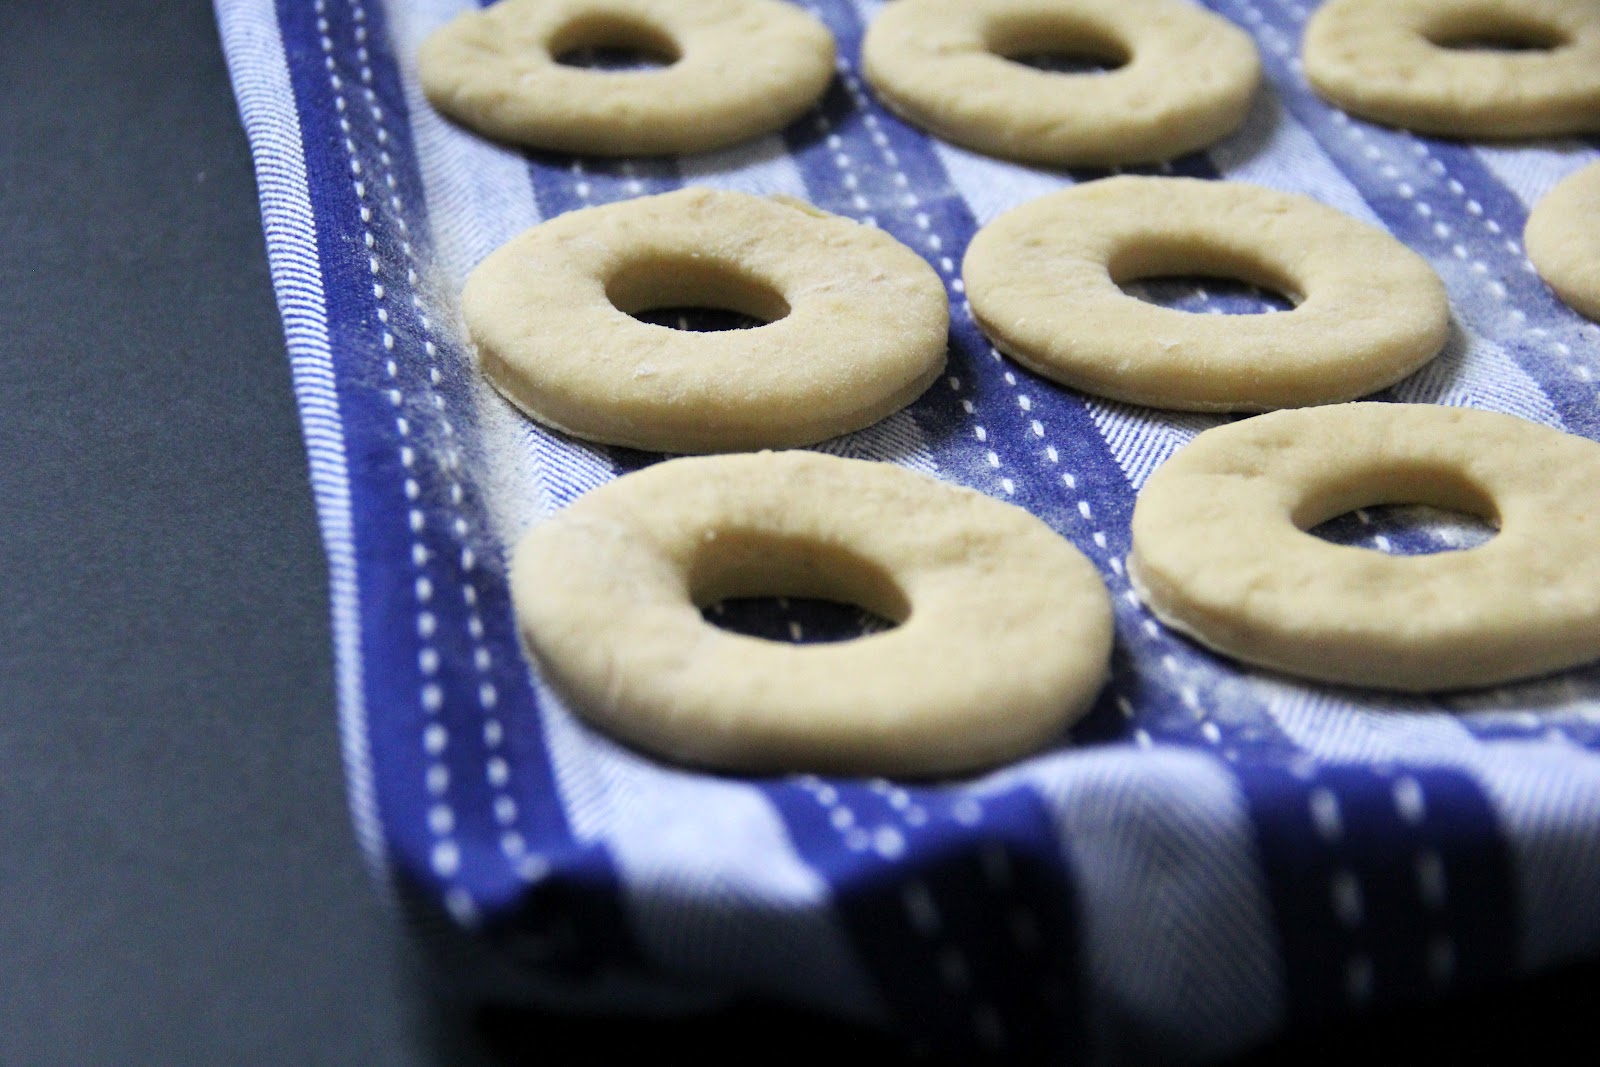
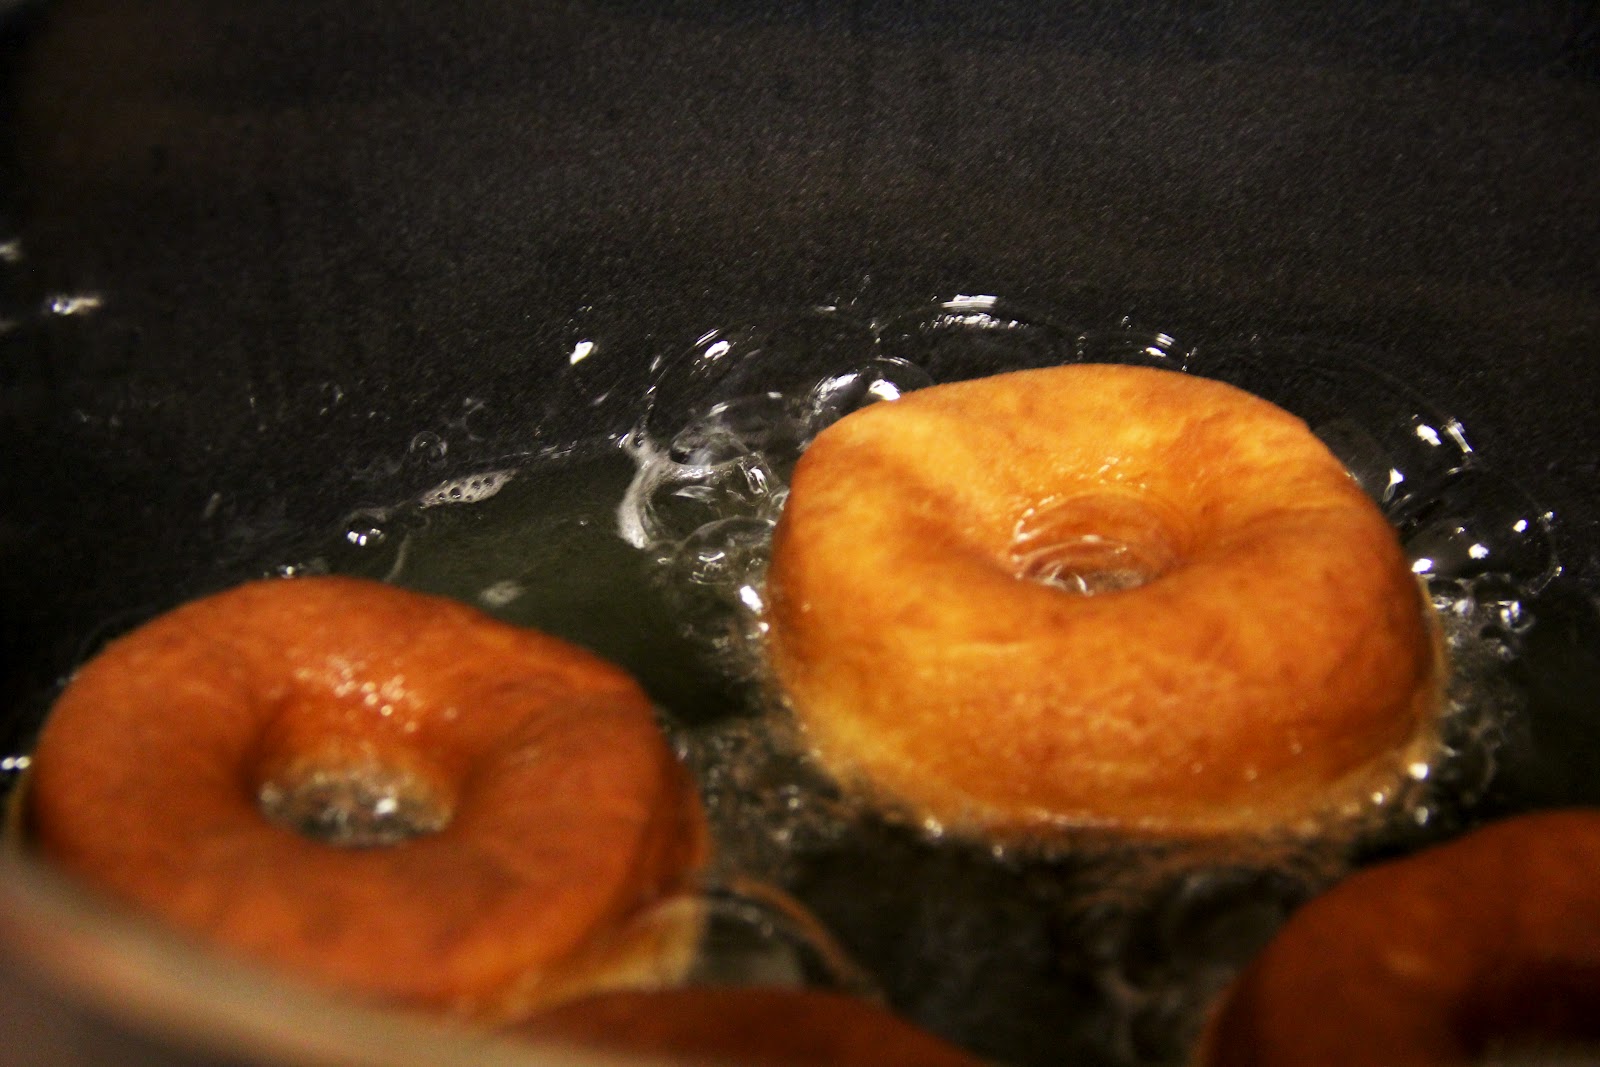
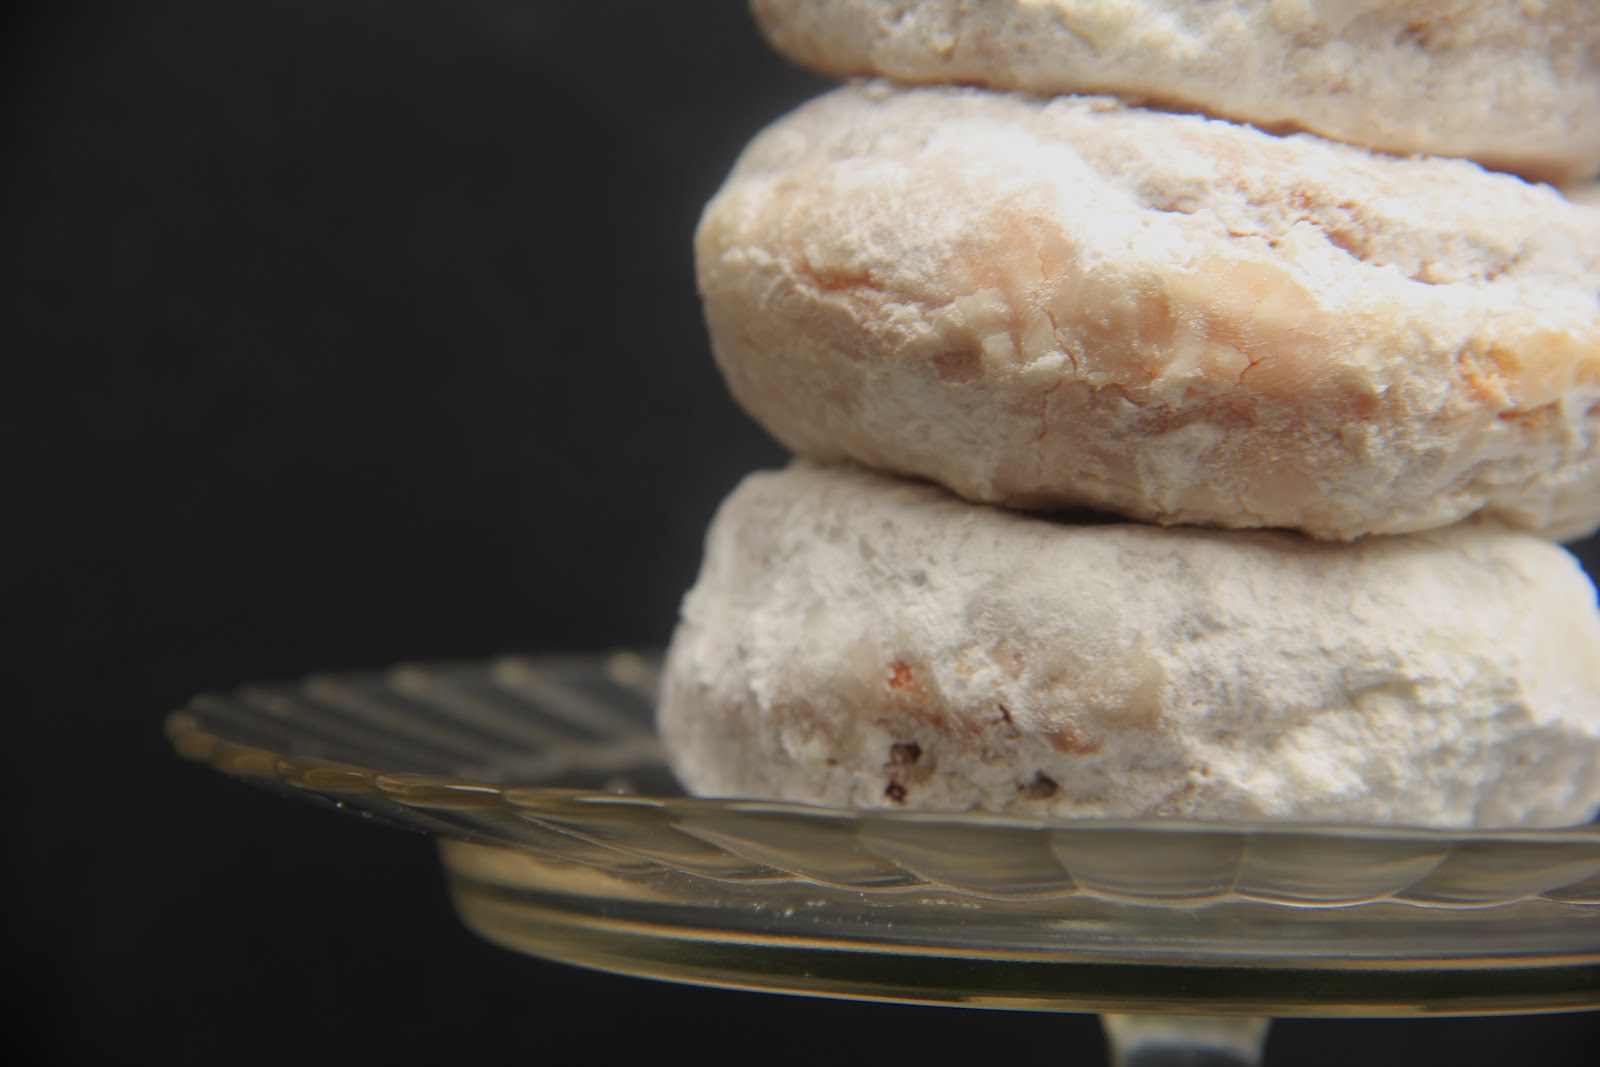
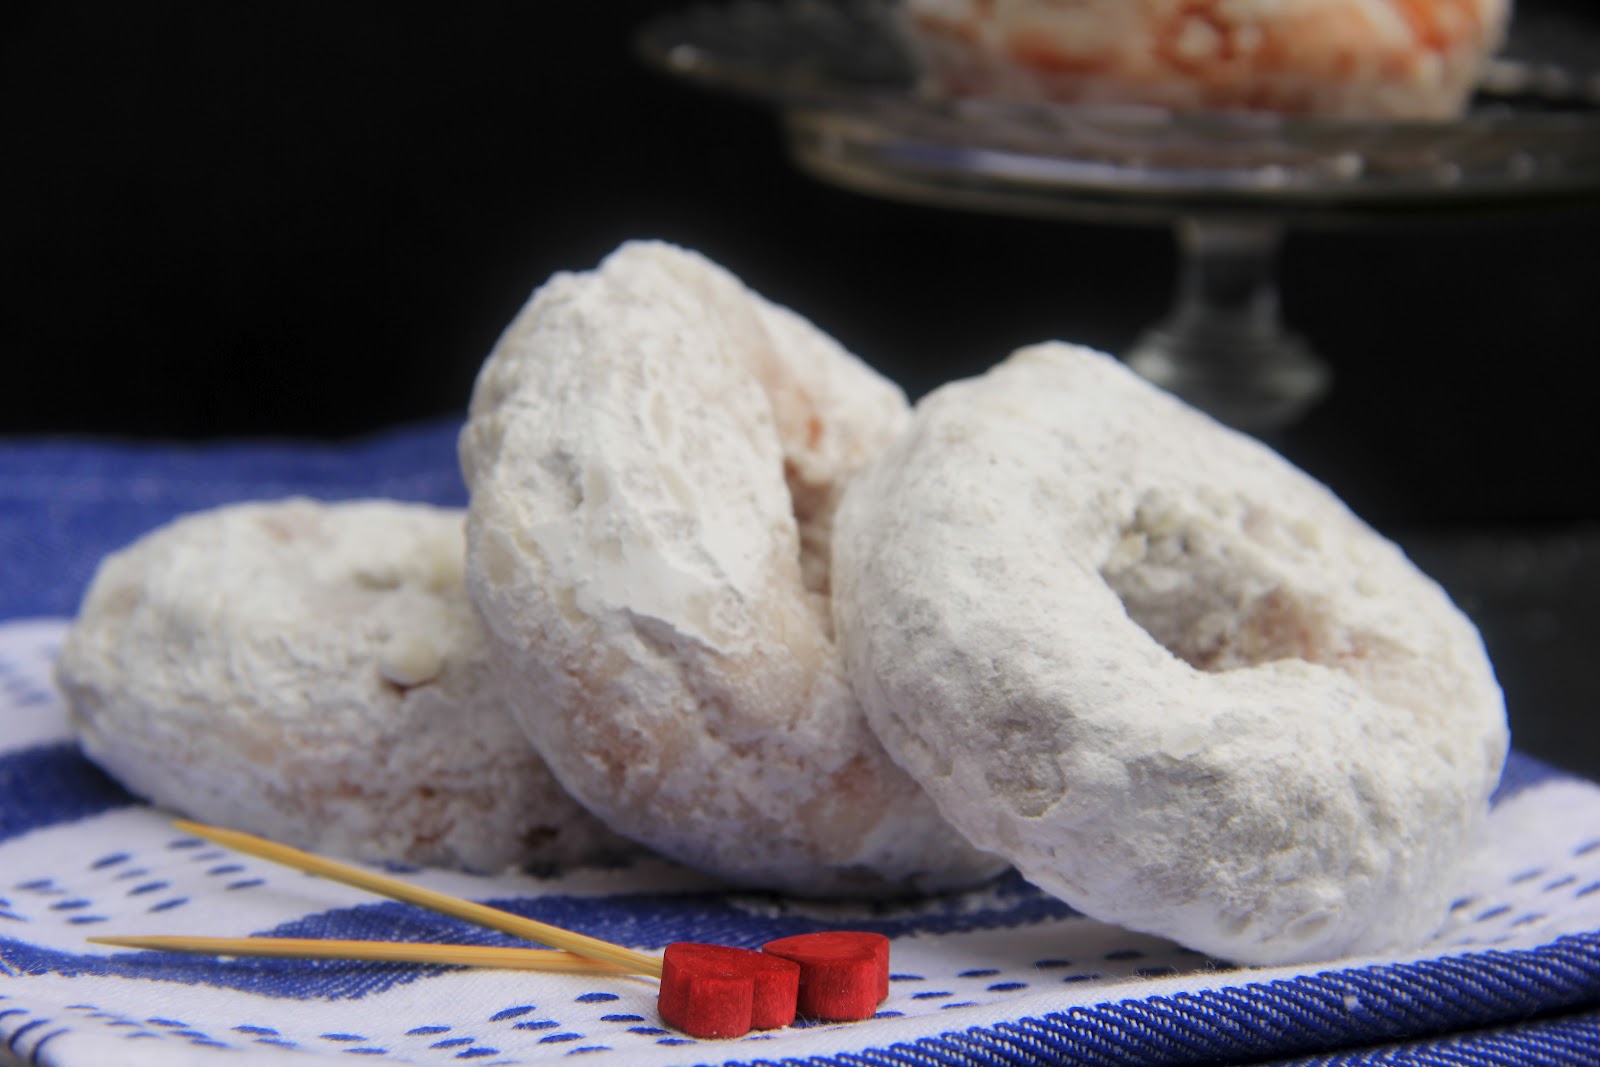
so I will keep it short. Hope you enjoy my pictures; they were taken in dim 5pm daylight which explains why they are so godamn awful. 
Adapted from Poires Au Chocolat Whole Vanilla Bean Biscuits 
The Recipe:
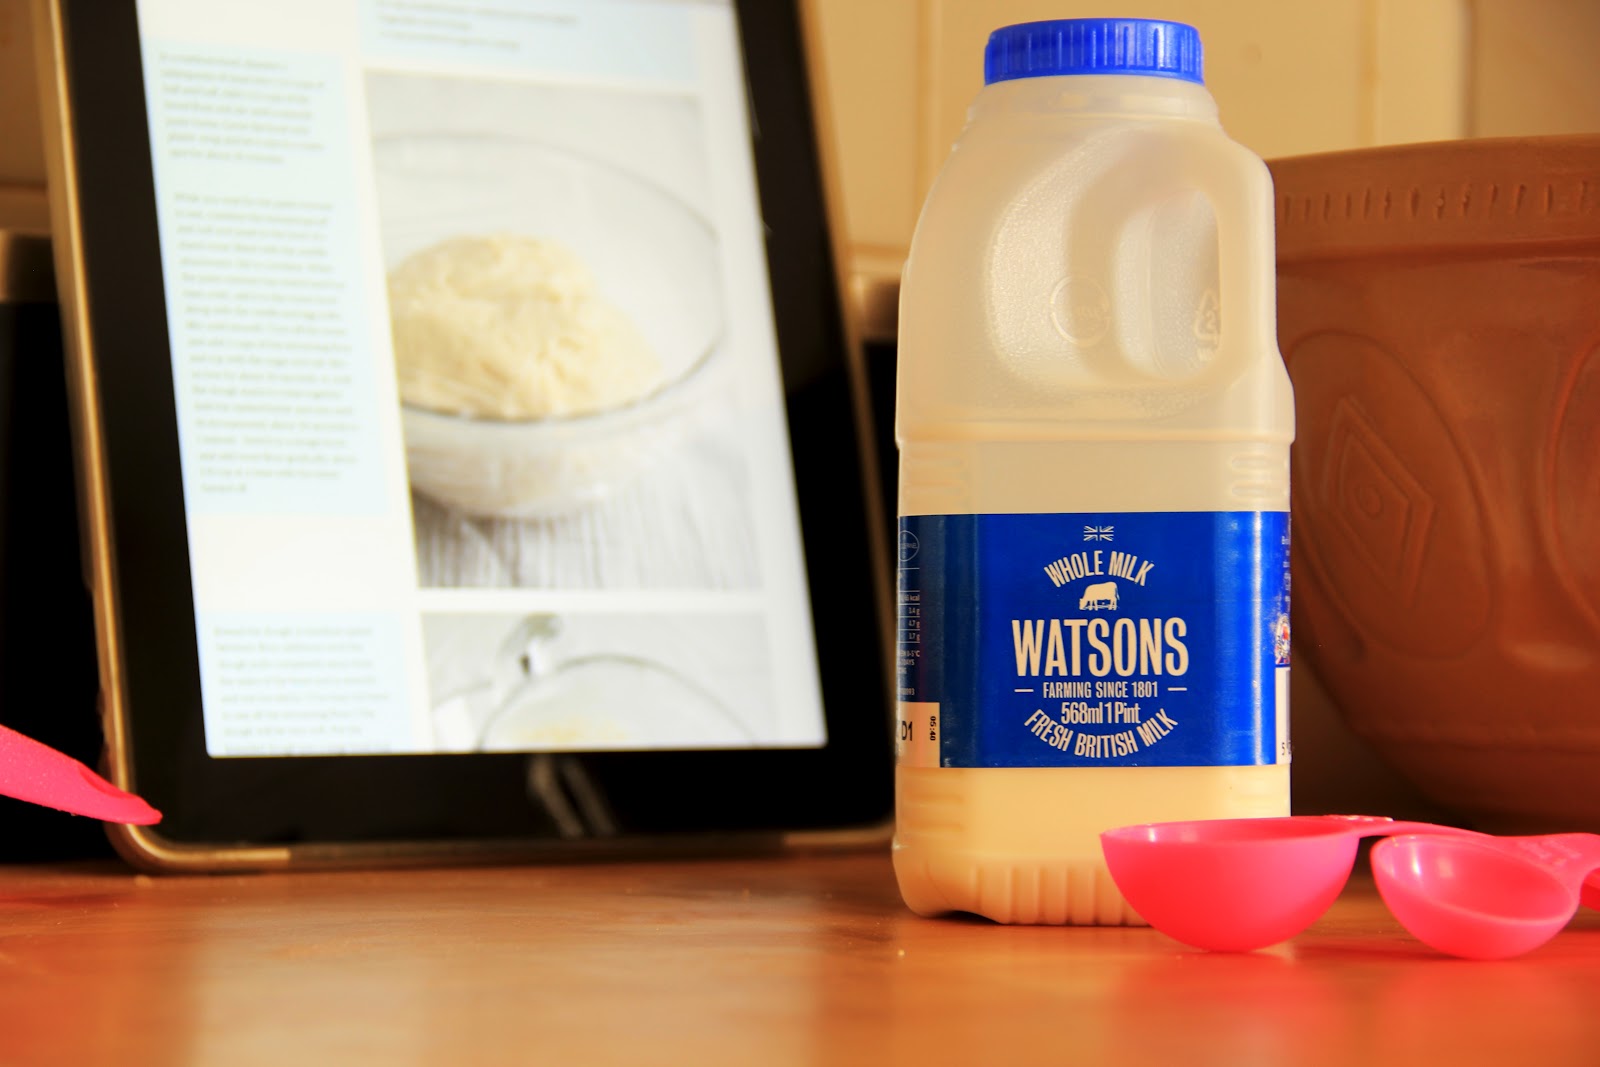
1 vanilla pod (with or without the seeds)
50g caster sugar
100g unsalted butter, cold 
125g plain flour
1/4 tsp baking powder
pinch of salt
The Method:
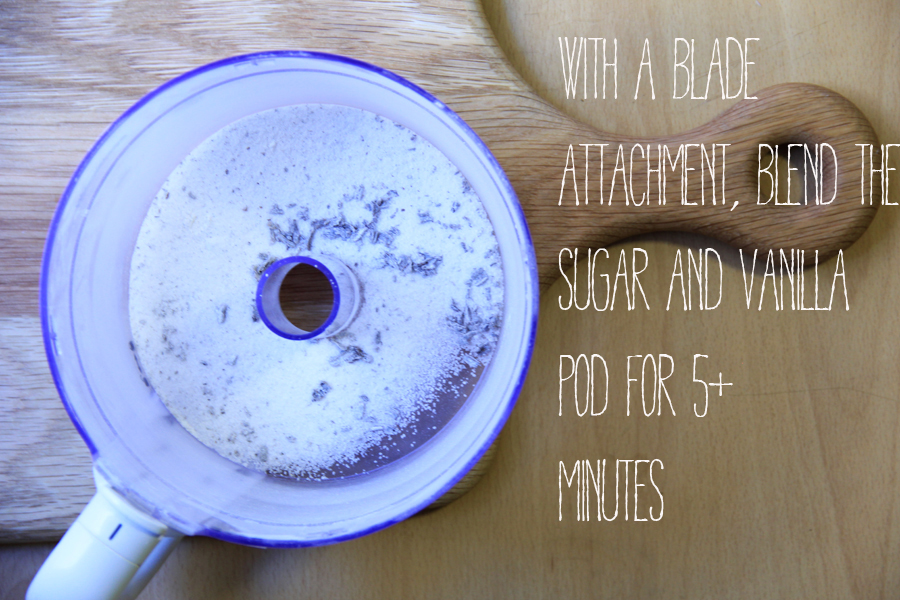
  • Weigh the sugar and salt in the food processor and add a finely chopped vanilla pod in with it. 
  • With the blade setting, whiz the ingredients together for five plus minutes.
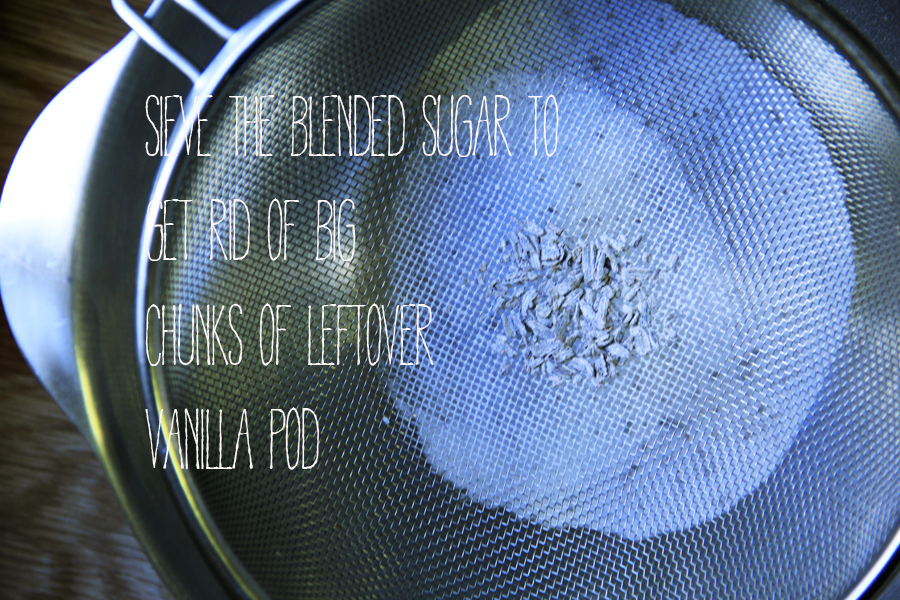
  • Sieve the remaining big bits of vanilla out of the vanilla sugar and place back into the processor. 
  • Add the butter, flour and baking powder and pulse until just incorporated. 
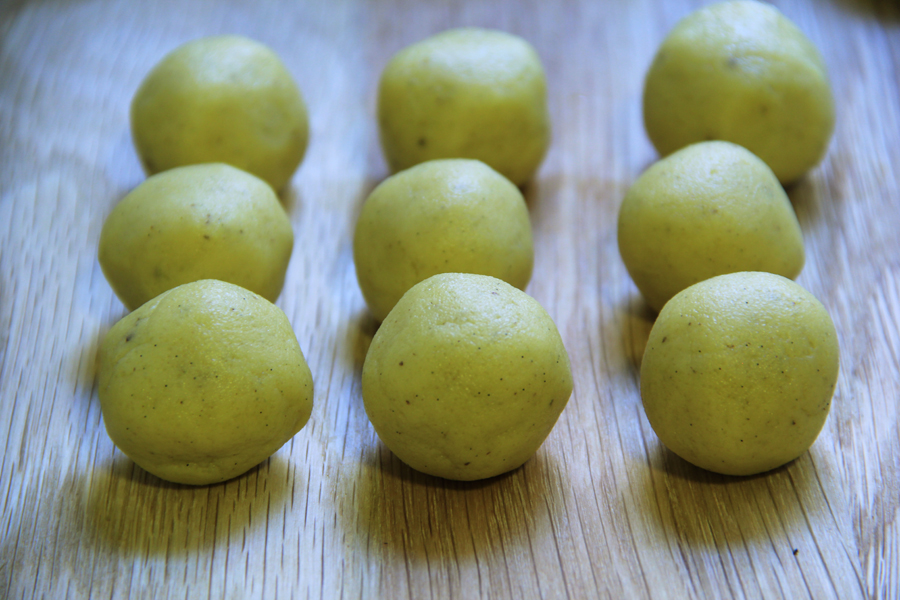
  • Roll the dough into singular balls. 
  • Cut out 20 odd squares of baking parchment. 
  • Place 1 ball onto the baking parchment, followed by another piece of parchment on top.
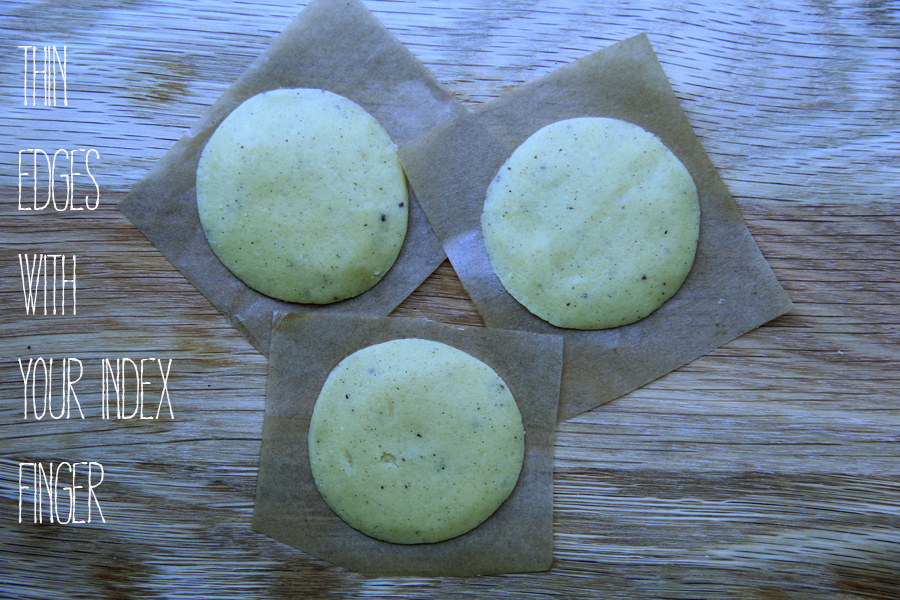
  • Squash the ball flat with the palm of your hand and then using your index finger, thin all round the edges (as if you were making a sugar rose). 
  • Repeat until you have no dough left, please each biscuit into the fridge to rest for half an hour. 
  • Preheat the oven to 170 degrees and bake for 14 minutes. 
  • Let cool and serve!
Hope everyone had a wonderful Halloween! Love Em xx

Friday, 26 October 2012

How to learn from your mistakes: Cream Cheese Icing & not so Curly Whirly Cake

I think there’s something in the oven/Kenwood. This time round, I’m tackling something else that has gone horribly wrong…cream cheese *sulk* icing. It goes without saying that when you make one mistake, you put it under the carpet and carry on trying. But when you make a second, (cringe shields at the ready) feelings of self-doubt start to pave their way in.

I definitely thought about avoiding this post altogether, but then I thought about how many times I haven’t been satisfied with my cream cheese icing, so it was inevitable…I just had to learn from my mistakes. The icing was poured atop the all-London Curly Whirly Cake made from a Konditor & Cook recipe found here, the picture of the cake is what I aimed for…Decoration wasn’t even an option after this disaster went down! But try not to be fooled, the cake was densely satisfying!
I’ve wrote about some of the things I think will help you not to achieve this big, runny, gloopy mess. Here we go (again):
Straining
Its absolutely necessary to strain your packets of cream cheese before you add it to the mixing bowl because extra fluid will contribute to a runny mess. Get rid of all that curdled juice by dangling the packet over the sink, your cream cheese is solid at this point (and hopefully will stay that way) so you don’t have to worry about it falling out of the packet!

Above Room Temperature 
There is no baking rule that your cream cheese has to be at room temperature, do not treat it like you would butter and eggs. As long as it’s not straight out of the fridge, you won’t have a problem like I did. Let the packets rest at a room temperature for a maximum of ten minutes.

Beating 
Now, the recipe I used instructed that I melted the butter and added it to my already whipped cream cheese and icing sugar. Naturally, you’re going to assume that that’s where I went wrong, right? Wrong. The cream cheese had already loosened into a form of gloppy-ness before I added the butter! This is because I mixed the cream cheese and icing for too long at too high a speed. You can avoid over beating by whipping room temperature butter and all of the icing sugar until pale and fluffy, and then adding the cream cheese. This will give you a thick cream cheese, but one with a dominant buttery flavour which isn’t very nice, so to avoid this altogether take a look at my next pointer.

Meringue powder 
Forget for a moment that meringue powder adds a crusting quality to your icing and listen up. Adding 2 tbsp. to 1 batch works chemical wonders into your icing, it will give it pipe-able and spreadable stability. Also, the great thing about this cheesy trick is that it won't give off any bad flavours either, it will simply stop your cream cheese icing from looking like mine does, which none of you want, surely!

Whipped cream 
Another great tip which I’ve yet to try yet is adding whipped cream to your cream cheese. This not only gives height, fluffiness and stability to your icing, but also, I think, would give a better flavour! Whip some double cream together and simply fold it into your icing. Also, if you don’t want to regurgitate a rainbow - remove 1 tsp vanilla extract from your recipe and replace with 1 tsp fresh lemon juice, this will also keep your icing from having an off-white look. 
Love Em xx

Saturday, 20 October 2012

How to learn from your Macaron mistakes

Its time for me to showcase my most recent kitchen disaster to you, baking is never all about success and I don’t do enough to emanate what I could have done better. So far it’s been all about how good something tastes and never how I could have improved on some ill-defined quality that really would have benefited in some extra care towards it. So here it is. The ugliest, wrinkles’ ridden macaron that looks exactly like a wart that has been flattened with a PME rolling pin.  I thought I would outline some/ALL of the things that (I think) went wrong here, in bullet points, so that if you’re thinking of making some at home and are now worried that you might produce some warts, you can read this and hopefully turn those unattractive, alright tasting maca-macas into elegant, crunchy and then soft and gooey delights.
Did you think it was a whoopie pie?!
Why don’t my macarons have feet? 
My suspicion is that not enough air was beaten into my macarons, and in addition, when I did the almighty ‘double tap’ to remove air pockets, I actually removed the very last bits of air that my poor macarons were holding onto for dear life. I’ve read that adding a touch of cream of tartar to the egg whites will stabilise them, thus calls for a sturdier meringue, equals better raising agent! Take a look at my first ever attempt at macarons, they're just as ugly but they do have feet. Also, make sure your egg whites are at room temperature, I don’t know why exactly but I do know that mine derived from the fridge straight to the bowl (please look at pictures if you still need convincing). 

Why aren’t my macarons shiny and smooth? 
This is the big one; so many factors will cause your macarons not to have that perfect French finish. Exhibit A: the almonds. If they’re not miraculously fine in texture and sieved once or twice, you will not have a shiny macaron. The recipe I used only specified that I should sieve the icing sugar and ground almonds together so that they’re smooth, later I read that you should always add these to the food processer, and thin the life out of them with the blade setting. This will create a spectacularly smooth batter, and why is this important? If you have a smooth batter, your macarons will form a skin when they are resting - they must rest for at least 20 minutes at room temperature - and when the macarons are baked, that skin will be the sole reason behind why your macarons suddenly have that mirror-shine top, as well as that yummy crunch, followed by gooey middle. 

Why aren’t my macarons all the same size?
The most embarrassing thing of all is that I actually used this really helpful template to make sure each macaron carried excellent uniformity, but as there wasn’t enough air incorporated into my little disasters, all of the macarons spread in an uneven manner all over the baking parchment, causing oblong/rectangular/spherical rounds. In other words, if the macarons baked upwards instead of sidewards, they would have all been perfectly circular with the help of a template (or macaron matt). 
The macarons dont look at disastrous from this angle, aye?
I hope this answers some of your macaron queries, I’m not going to give the recipe on this occasion, I’m going to wait until my macarons look like gods and goddesses so that I can actually justify a recipe post.
Mini macarons (kind of)
Oh, and did I mention I burnt the caramel? 
Love Em xx

Tuesday, 16 October 2012

Sky Poker Chips and Cupcakes

It is so easy to turn a simple cupcake into something with much more depth and meaning behind it than it had say...10 minutes ago, when it was just a little light sponge with a rich and heavy buttercream and a 1m-attack perched & splurged right on top of it.
Sky Poker Dice 
So when I made cupcakes for Russell to take to work with him at Sky Sports (obviously, I wanted to make him look like an even bigger goodie too shoes), I was delighted to have been approached by the guys over at Sky Poker, asking if I’d be willing to do the same thing for them, but with a poker theme. At no point was I going to deny such a project, so I put my baking cap on and started drawing poker chips that I could eventually translate into cookies, and some cupcakes like the ones I mentioned above, only with rice paper carefully inserted into its soft and simple swirl.
Sky Poker Cupcakes and Dice
My first instinct for these bakes was to go for the initial Sky reds and blues as found in these cupcakes. But then I started to really think about it, and realised that I weren't just baking cakes for the broad spectrum that is Sky Sports, but instead was presenting bakes for Sky Poker, a less broad and more subject related area of Sky. So as long as I had some pungently coloured red and blue poker chips in there, I was happy (and hopefully so was Sky Poker!)!
Sky Poker Chips
Flavours are consistently vanilla based throughout both of these bakes; I went for the classic cupcake which can be found here. Then moving onto the cookies, I used Peggy Porschen’s Sugar Cookie (couldn’t leave my shiny new bespoke book hanging!) recipe, but, to be completely fair, much preferred Primrose’ version, it was much more crisp, without those milky notes that Peggy’s version boasts. 
Sky Poker Cupcake
Sky Poker Chips 
What did you think of my poker themed cupcakes and cookies? Do they live up to the standards of Sky?! I'd love to know! Lastly, watch this space for (hopefully) some Macarons in the next few days!

Love Em xx

Thursday, 11 October 2012

Peggy Porschen Banoffee Cupcakes

This will be a quick post where I choose to quickly show you some cupcakes that I subtly ordered my sister to bake whilst I was learning away at Uni. It's also the very first post in which I begin a challenge, do you wanna know what the challenge is? Go on, keep reading and you'll find out. Right now and yes, today. It's really cool and interesting, are you ready?

I hereby challenge myself not to use the word 'delicious' in any of my future posts from here on out. I, Emine Hassan, grant anyone who reads the evil, malicious and overused word in any of my posts to personally troll/cyber bully me as punishment. Kapeesh?

Brill.

Now please, drool over these peggy poo cakes and appreciate that the original and delightful (put down those virtual crow bars, its not quite the word!) version that churns out of the parlour like hot cakes - is 1837932873289 times better and 398342938 times likely to be a COMPLETELY DIFFERENT RECIPE. But alas, this was close enough, and my sister did a fantastic job. Actually considering eating five for dinner.

Adapted from Peggy Porschen's Banoffee Cupcakes
Makes 12 cupcakes (and no less or more!)
The Recipe:
200g unsalted butter at room temp
200g caster sugar
1 vanilla pod, or 1 tsp vanilla extract
4 eggs at room temp
200g SR flour
Half a mashed banana
100g plain chocolate,chopped
sugar syrup (serebet)
150g caster sugar
150ml water
the filling
1 tin of dulce de leche (carnations)
half a mashed banana
the frosting
500g icing sugar
200g cream cheese, at room temp
200g unsalted butter, softened
1 vanilla pod or 1 tsp vanilla extract
Banoffee cupcakes with a cream cheese frosting
The Method:
  • Preheat the oven to 170C, or you could do this in ten or so minutes, as the recipe is quite methodical. 
  • Cream the butter and 1 vanilla pod (if you're using extract please dont add this until after you have added the flour, this will stop the alcohol cooking the eggs) until paler in colour, 2/3 minutes.
  • Add the eggs one at a time into the butter, beating as you go along and the mixture is well combined. 
  • Add the flour until just incorporated and then fold in the chopped choco. 
  • Fill each cupcake liner, distributing the batter evenly (this wont be difficult as you'll find yourself short for batter). To get a flat top, only fill the batter two thirds full.
  • Bake for 14 minutes - make sure not to open the open door and have a peek - especially during the first 5 minutes!
  • Whilst the cupcakes are baking, prepare the sugar syrup. Pour the water, scraped vanilla pod, and the sugar into a medium-small saucepan and let simmer on a medium heat until the sugar has dissolved. Set aside.
  • Take the cakes out of the oven and place on a wire rack, brush each cake with the syrup and then refrigerate the cakes for an hour. Make sure to cover the cakes, you don't want them to taste like fridge! 
  • Prepare the frosting. Cream the butter and then gradually add all of the icing sugar, add the vanilla. Plop in the cheese bit by bit till smooth. Refrigerate the frosting as well, whilst the cupcakes are in there.
  • For the filling, mash the banana in a small bowl and then add in the caramel, mix together till smooth.
  • Take the cakes out of the fridge and using a knife/tiny spoon, cut a small well in the middle of the cake. 
  • Put the caramel in a piping bag and then pipe it into the middle of the cake until it's filled. 
  • Frost the cakes with the cream cheese as you desire !
Love Em xx

Sunday, 7 October 2012

Spiced Pumpkin Bundt Cake

If, like me, you've ever wondered about the ‘taste’ of autumn, well, the answer is in this bundt. You know, like that taste of Christmas you get in your mouth after you step outside on a premature winters day for the first time and it carries that indescribable smell/taste combination. How wonderful for us winter babies. 

This was my first ever pumpkin encounter, I enjoyed it, but I think the dogs enjoyed it more - something about the pumpkin being good for their insides or some other dog fact that my sister picked up off her iPhone on Google. Saying that, the taste of this cake was very deep and spicy, it carries that classic flavour combo of wintry spices - cloves, cinnamon (which I forgot to add like a spaz), ginger… really warming gingerbread man flavours that bring you right back to the fireplace with a hot choc. 

I can see this cake going well with a tangy cream cheese glaze, one with the addition of water to make it a satisfying pouring consistency.  None of my recipes tend to have what this one contains - a secret ingredient! That’s right ladies and gentleman, enter...ROLLED OATS. A thick, un-palpable paste of oats is stirred (not without a fight of course) into this cake batter and you wouldn’t even know it was there! But I think it’s necessary cos’ it adds an autumnal extra to this pumpkin bundt, enjoy :)

The Recipe:
2 cups caster sugar
3 cups plain flour
4 medium eggs
1 tbsp milk
1 can of pumpkin
226g unsalted butter, softened
3/4 cup oats
1/4 cup boiling water
1 tsp salt
2 tsp vanilla extract/powder
2 tsp baking soda
For the pumpkin spice:
1 tsp cinnamon (I missed this out)
1/2 tsp ground ginger
1/4 tsp ground cloves
1/4 ground nutmeg
Icing sugar to dust
The Method:
  • Preheat the oven to 170C and grease a bundt tin.
  • Boil the kettle, place 1 cup of oats in a small bowl and pour the 1/4 cup boiling water over the oats and stir. Leave the thick paste to set. 
  • Put the sugar and butter in the bowl of a freestanding mixer and mix on low speed till fluffy.
  • Add the eggs one at a time whilst the mixer is still stirring the batter. 
  • Keep the mixer on, and one at a time - add the pumpkin, oat paste and vanilla. Raise the speed until the oats look better incorporated and then reduce the speed again.
  • Add the flour one cup at a time followed by the pumpkin spce, BS and salt.
  • The batter will appear thick, keep mixing and add a tbsp of milk (or two) until it has loosened slightly.
  • Plop the batter into the cake tin and smooth the top.
  • Place into the oven on the top shelf and bake for 60 minutes.
  • Let cool in the pan for ten minutes, invert it out and serve!
Love Em xx

Saturday, 6 October 2012

Cosmopolitan Blog Awards 2012 & A feast for your eyes

Hummingbird Bakery Red Velvet / sweet and simple grapes from the Turkish Food Centre / homemade Eggs Benedict with fried egg, not poached - for the inept egg-makers
I've noticed a slight pattern when it comes to my ‘months in food’ - all of it is almost always bought or ready-made!  How blasphemous of a food blogger, to show her small circle of readers what she eats on a day to day basis and for it not to be homemade?! Appalling. But let’s be honest, who has the time to eat well and wholesome every day? I certainly don’t, nor does my budget.  September was a lovely and autumnal month and the start of October has shown that all of these browns, oranges and deep yellows that have appeared out of nowhere (such as the leafy table-pieces on the TV) fit RIGHT into place. I thought it only a coincidence that this month’s Instagram photos were mostly taken under tungsten - esque light.
A feast for two - need I say more? / vanilla cheesecake at the Wolsely / Sainsbury's all butter shortbread 
So anyway, on Thursday I stomped along in my high heels, which only ever come out on very special occasions, to the Cosmopolitan Blog Awards! Needless to say I didn't win my category, the blogger who did however, knows her way around the camera like it was made of pastry - which I’m sure she knows plenty about! Poires Au Chocolat - well done, your blog is an inspiration! For those of you unaware of her talent don’t be afraid to click over and drool.

Aside the awards ceremony, I met some fabulous people there that I simply cannot shy away from mentioning! Meg, the lovely lady behind MegsBudgetBoutique, Beth from BeautyThrill and lastly Jenny from 10BlankCanvases.  Fashion, beauty and nails - something I know very little about but these three girls pull it off so well that it would be a crime if they weren't nominated by Cosmo. I'm still to find the whereabouts of more pictures of the night, but they will be posted straight away when I do!

It would be rude not to thank Cosmo & Next for everything, especially for the cocktails and never ending goody bag. You can get a full list of the winners here! It would also be rude not to thank who ever nominated me to get that far in the first place, I owe each and every one of you your favourite baked goods.
Beth, Meg & Me!
Love Em xx

Monday, 1 October 2012

Delicious Powdered Sugar Doughnuts

Donut or doughnut? Doughnut, it's a doughnut. It's not a doughnut because I'm not American, either. It's a doughnut because THESE doughnuts deserve so much more than your average 'donut'. Homer Simpson would bow down to these. He would eat all 30 (ish) that the recipe yields and then some. He would even ask to see the recipe and then Marg would get involved. Hopefully after that Marg would decide to credit the creator of the original, awesome recipe by Sprinkle Bakes. SB might call it a donut, but for me, it's the sort of doughnut that sits on top of those market made donuts and gets icing sugar all over its caster sugar, it would do this as a way of saying to the market donut "I shit all over you".

Another recipe that is a now a solid fixture in my life, if you'd like it to become part of yours too, then please do scan through this step by step guide to perfect doughnuts. I rinsed the original recipe to the absolute max, especially as I made some adaptations, and I think this is necessary if you want to get a good end result, don't be afraid to twice over the method ten hundred times. Just do it.

This is a recipe best left untouched, like the Holy Grail. So please, make these, make them good, eat them all, consider making them again the next night, and most of all thank Sprinkle Bakes for gracing us with such a rich and heavenly ball of yeasty fat to adapt from.
The Recipe:
Adapted from Wedding Donuts by Sprinkle Bakes
3 sachets active dried yeast
Half cup double cream plus 1 and a half cups whole milk
4 and a half cups plus half cup strong white flour
Quarter cup caster sugar
6 medium egg yolks, room temp
1 tsp salt
1 tsp vanilla extract plus 1 tsp vanilla sugar (optional)
120g melted butter, plus extra for greasing
1 to 2 litres vegetable oil
500g icing sugar
Watsons whole milk used for Doughnut recipe
The Method:
  • In a bowl, add 2 sachets (14g) of yeast with half the cup of double cream and 1 cup of whole milk and stir till combined using a fork. Add 1 and a half cups of the bread flour and thoroughly stir until near enough all of the lumps have disappeared. 
  • Cover, and set aside to rest for half an hour.
  • In the meantime, add the rest of the milk and yeast (7g) to the (new) bowl of a freestanding mixer and set on a medium speed. 
  • Throw in the egg yolks, vanilla, vanilla powder and stir for 20 seconds then add all of the dough mixture that you set aside. Stir for a further 20 seconds and then stop. 
  • Add 2 cups of bread flour, salt and sugar and mix on low for 30 seconds. 
  • Stop mixing, add the melted butter until it all starts to come together. 
  • Attach a kneading hook to your mixer and continue to add the last cup of flour to the mixture until the dough starts to pull away from the sides of the bowl. Remember, you don't have to add all of the remaining cup of flour. 
  • Knead for about 1 minute, until smooth and less sticky.
  • Grease a large bowl with butter and pop the dough inside of the bowl. 
  • You can grease the top of the dough at this point if you want to as well. 
  • Cover with clingfilm or foil and refrigerate for 2 hours. 
  • Line 3 baking trays with clean, floured kitchen towels. 
  • Work your dough on a clean surface, add extra flour to stop it from sticking. 
  • Roll no more than 1 inch thick. Now grab a 72mm (3/4 inch) pastry cutter and a nozzle (1 inch round cutter) and make your doughnut shapes!
  • Place on the kitchen towels and let prove for a further 40 minutes.
  • Pour the icing sugar in a big bowl in the mean time.
  • Have your oil at 180 degrees C, throw in 3 doughnuts in at a time and fry for 1 minute on each side. 
  • Immediately put the doughnuts into the icing sugar and use a spoon to coat them all up in the stuff.
  • Eat warm!
Doughnuts proving before being fried 
Cut the doughnuts 1 inch thick 
Let the doughnuts fry for 1 minute either side 
Powdered sugar doughnuts 
Love Em xx
Template by Pink + Lola