 |
| Brown Butter Buckeyes |
I am a lazy girl.
If you’re lazy too, peanut butter balls
might just be the key confection you’ve been looking to make all your life, to
fill in the gaps between waking up at 1pm and dinner - on your day off, and not the one you called in sick, of course.
I first lay my eyes on these
big balls of beauty a year ago
here, I luuuurvved the idea of digestives adding
an extra crunch to a sweet peanut butter candy, it works especially well for
anyone who is not a fan of crunchy peanut butter.
After a scant bit of research I was fully ready to create my
own delicious peanut butter balls (not to be mistaken for the overly sweet cake
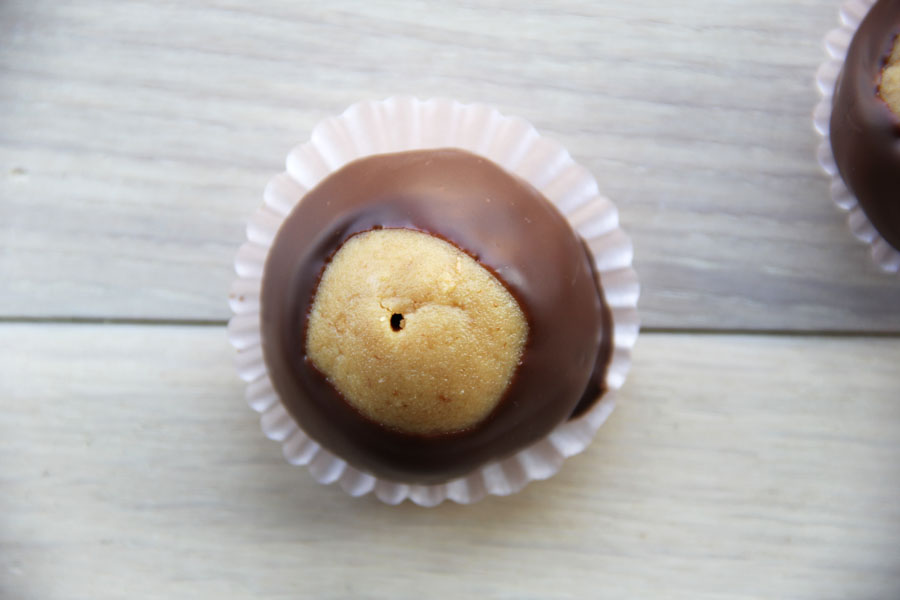
pop). The name ‘Buckeye’ comes from the Ohio buckeye tree in America and the
balls are made to look like an actual buckeye which falls off the tree in the
autumn/fall. If you’re having trouble placing an Ohio buckeye tree into your
imagination, just think of a conker. So famous buckeyes are to this state, that
they have even named a football team after it!
The traditional recipe for a buckeye calls for 6 cups of
icing sugar. My recipe has a quarter of that, more cream cheese and a whole lot
more of digestives.
Lastly, if you want an even richer nutty flava then it is
absolutely necessary to brown that butter! It will add just 20 minutes to your
assembly job (because it would be a crime to call this sort of think baking) but you won’t regret it I promise, lazy being.
 |
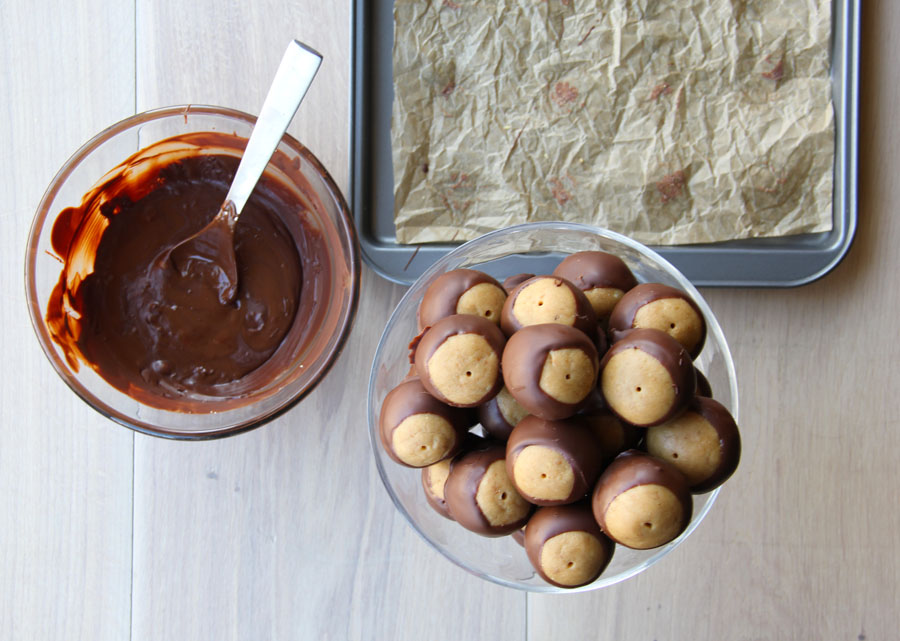
| Buckeyes with brown butter |
The Recipe
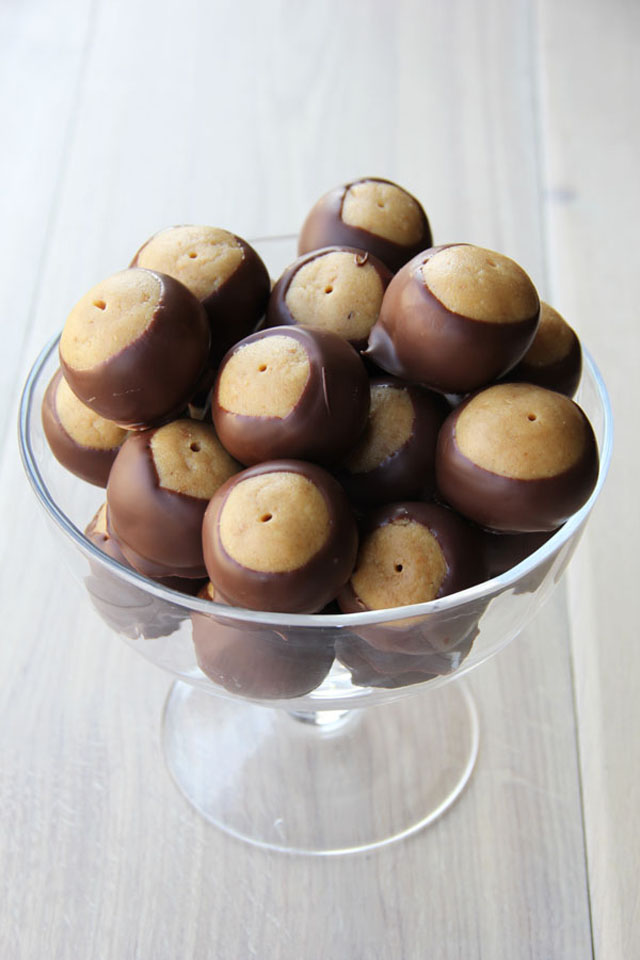
Makes 26 Buckeyes
100g cream cheese
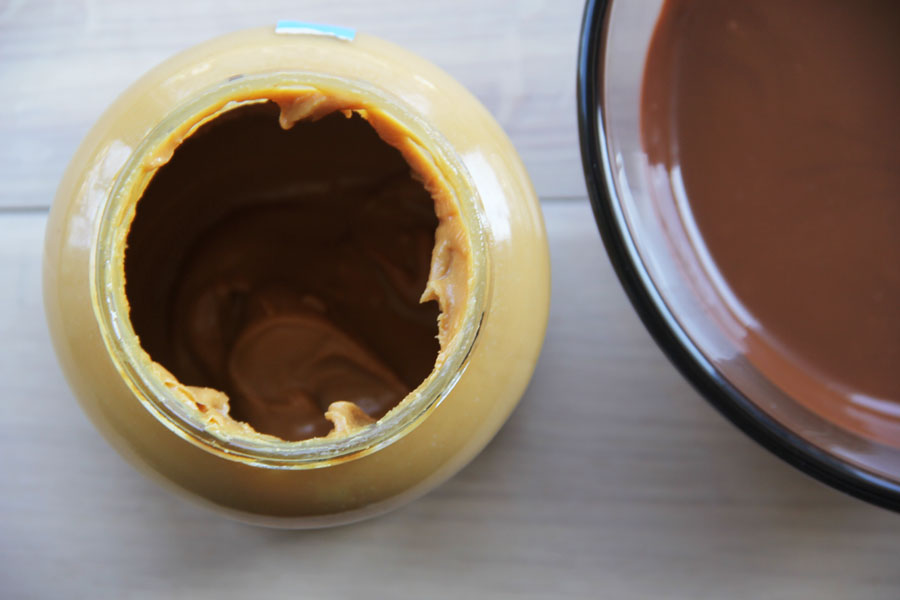
390g smooth peanut butter
145g brown butter* or plain unsalted, melted
300g icing sugar
14 digestive biscuits/350g
For the coating:
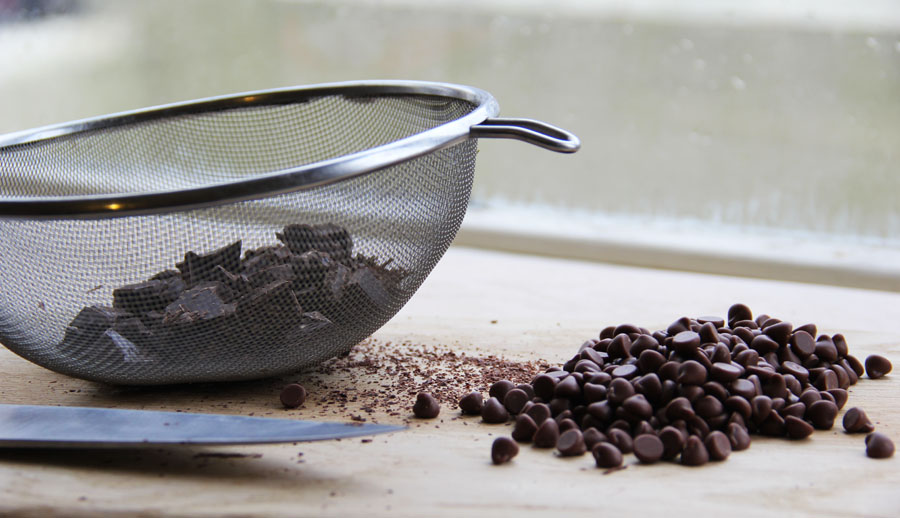
350g good quality melted chocolate of your choice
Special Equipment
Toothpicks
Vegetable oil (to thin the melted chocolate out)
Electric scales
Note* if you're gonna go ahead and brown the butter, all you need to do is put it in a saucepan on medium heat and whisk away until the frothy goodness turns a light shade of golden brown.
The method
Start with the digestives; there are two ways to get a shardy yet fine-ish crumble with these - which is exactly what you want. You can either give them a 30 second whizz in the food processer (my preferred method, do this if you're lazy and own a dishwasher), or put them all in a sturdy plastic food bag and beat them up with a rolling pin.
In the bowl freestanding mixer or a large bowl and an electric whisk, beat the peanut butter and cream cheese until the mix has lightened in colour - about half a minute.
Add all of the digestive crumbs to the peanut butter, remembering to scrape down the sides of the bowl for even distribution.
Alternately add the brown butter (it doesn't
have to be cold when you add it in!) and icing sugar until you get a huge bowl of thick golden crumbly looking stuff. Set aside. The buckeye filling will last in the fridge for 3 days so you can always wrap it in cling film and come back to it when you're ready.
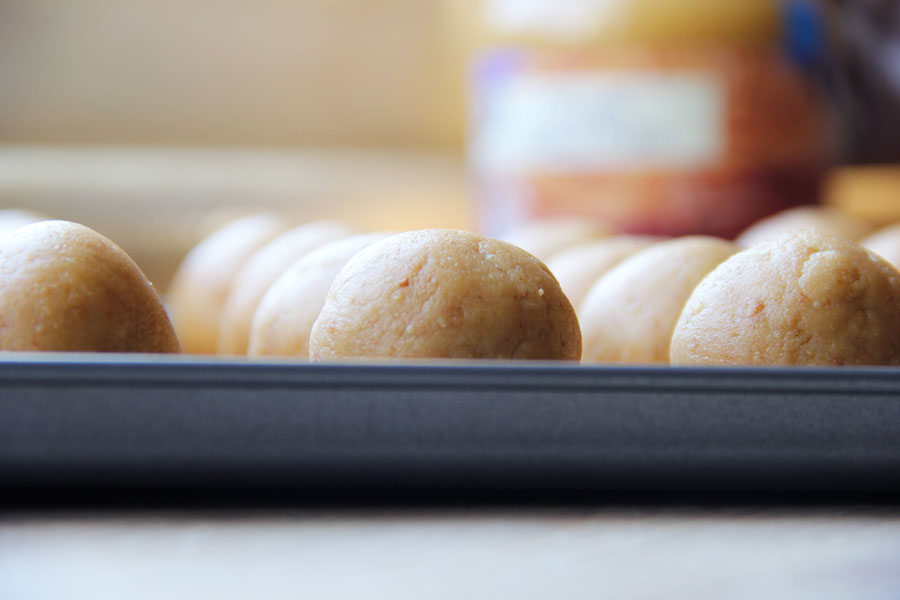
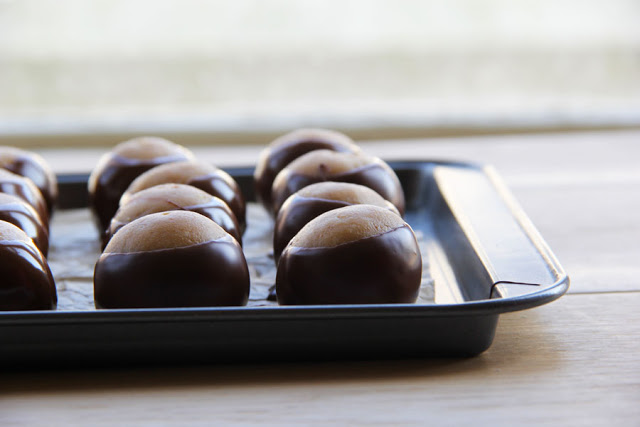
Next, line a fairly large baking sheet with parchment. Depending on how anal you are, grab a pair of scales and weigh out pieces of peanut butter dough at 43-45 grams each. This weight gives a big buckeye.
With each piece of buckeye, stretch out both your palms with the dough in the middle and gently roll it around until eventually, you have a round ball. Do this until you have no dough left and put in the fridge to set for at least 20 minutes.
Melt the chocolate over a ban merie. Add no more than a tablespoon vegetable oil to the melted chocolate and stir in to give a smoother consistency.
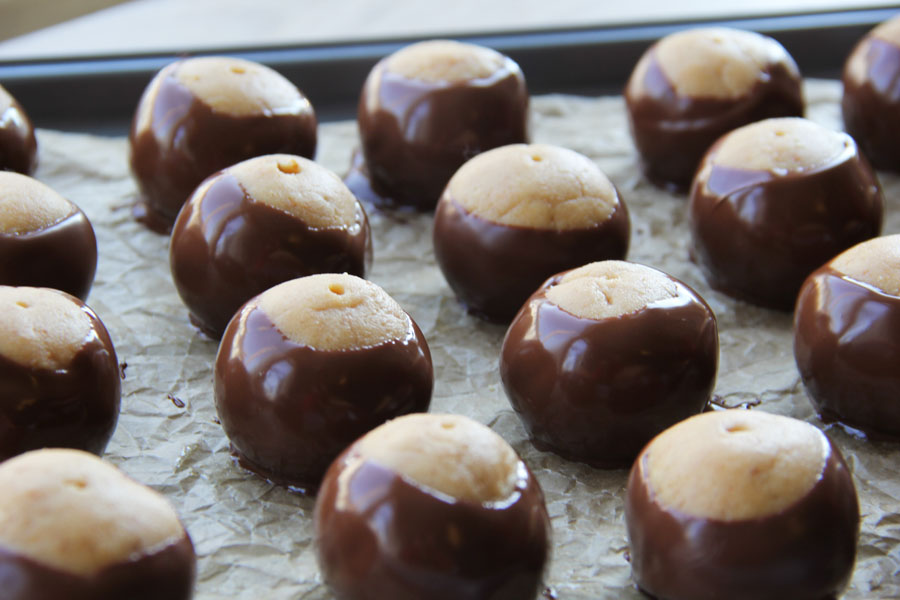
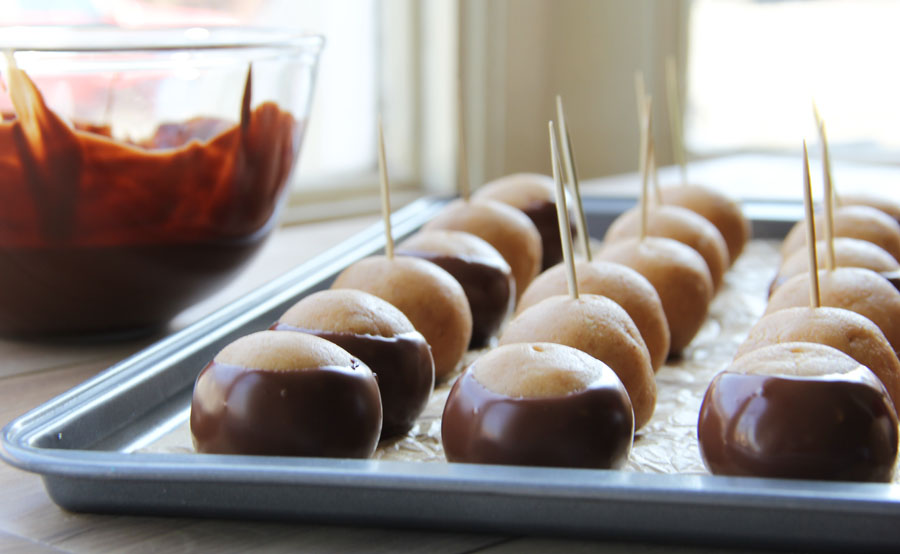
Pick up a buckeye with a toothpick and gently immerse the ball 3 quarters the way into the chocolate and roll around until you have what looks like a 'buckeye' (a bit of peanut butter showing at the top).
Put back on the baking tray and take the toothpick out.
Leave to set until the chocolate coating hardens and enjoy for 3 days!
BEFORE I FORGET! Keep your buckeyes in the fridge for ultimate freshness. Although...I highly doubt they will last long enough for that!
Love Em xx